Stem Stitch - Learn How to Do This Modern Embroidery Technique
Introduction
Let's learn how to do the Stem Stitch technique!
Stem stitch is a really lovely option if you're wanting to do lines or curves, as it creates this really nice, consistent line. It has a bit of a ropey look. It's beautiful, funnily enough, on the stems of plants. It also works really well if you're doing quite tight curves.
I like how using this stitch creates quite an even line, unlike stitches such as back stitch or running stitch, which give you that really separated look with each stitch.
I also love to use Stem Stitch in my embroidery on words and letters.
This stitch has a really classy, elegant look, and you can even use it to fill in spaces with rows of it lined up together. I think you're going to really like it!
So, how do you do Stem Stitch?
Step 1.
To start, bring your needle up from the back of the fabric, and do a normal, straight stitch forward. You can make this stitch slightly longer than you might do normally.
Step 2.
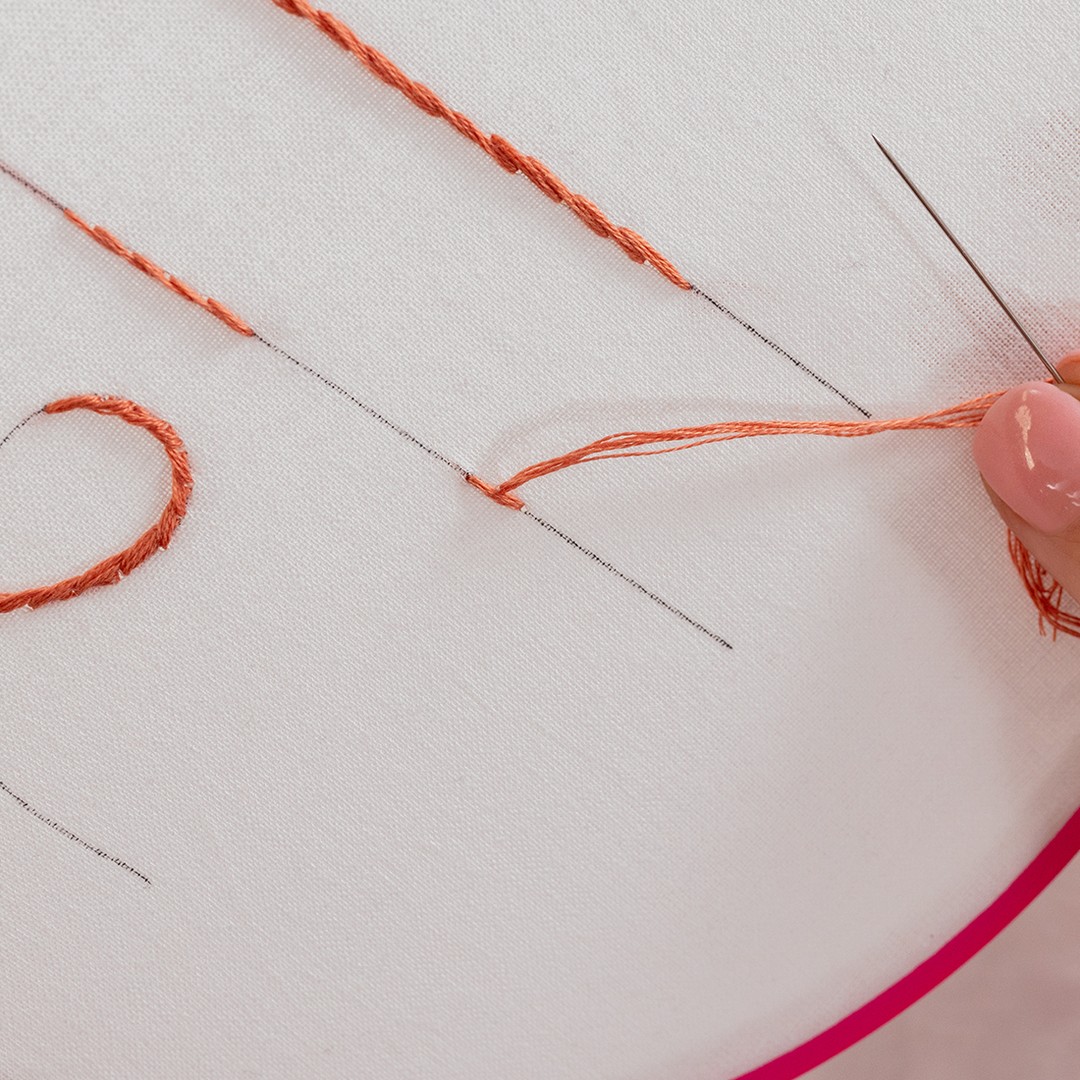
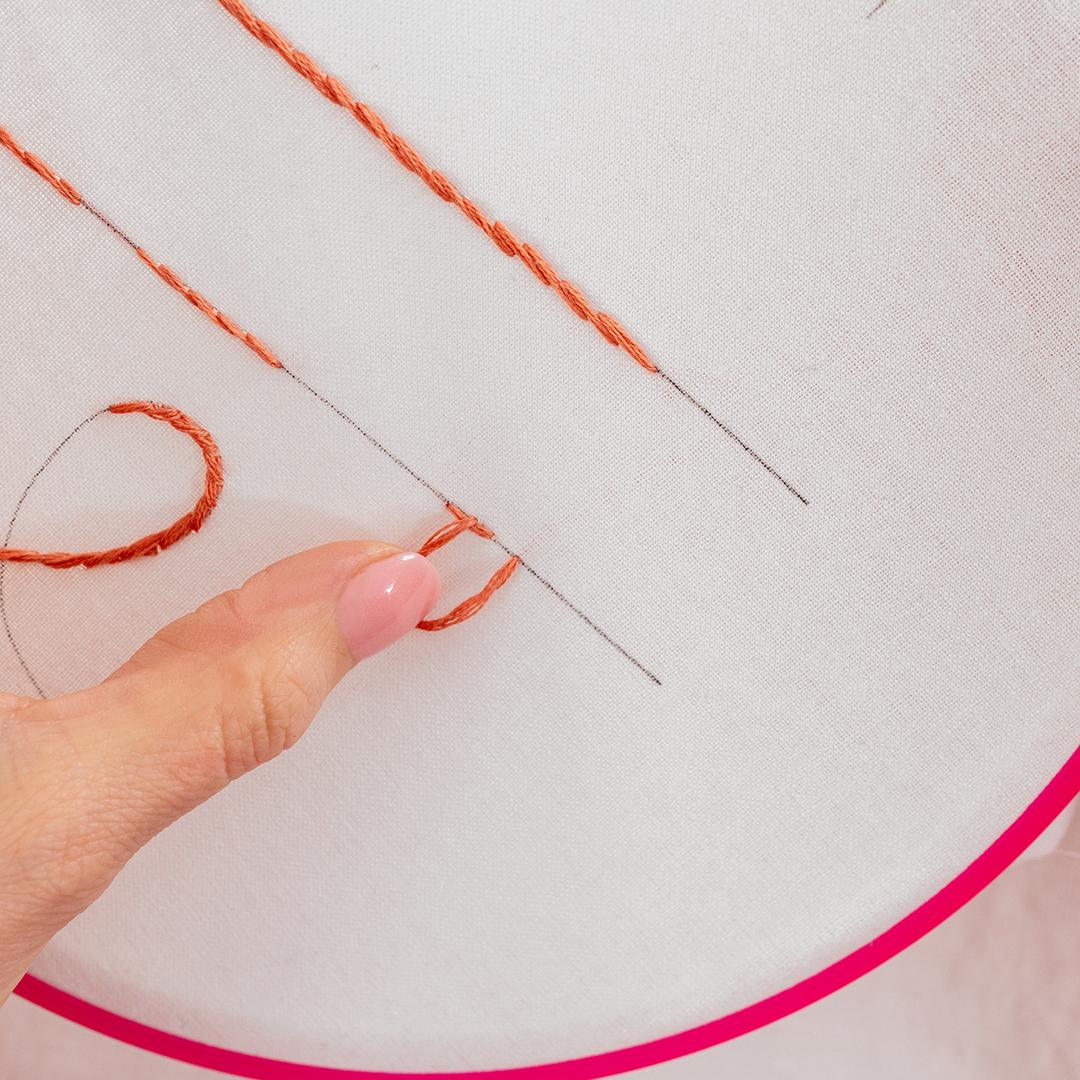
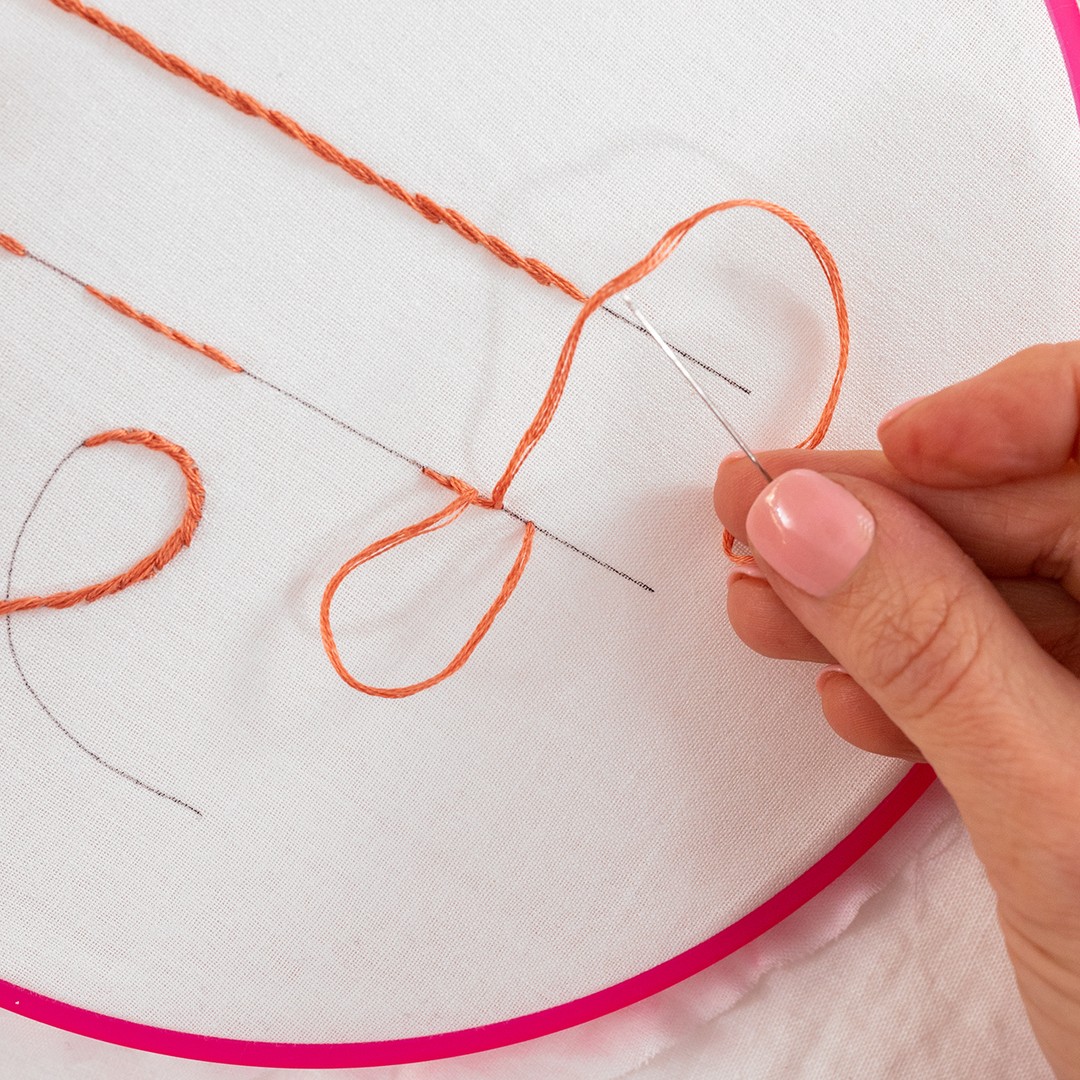
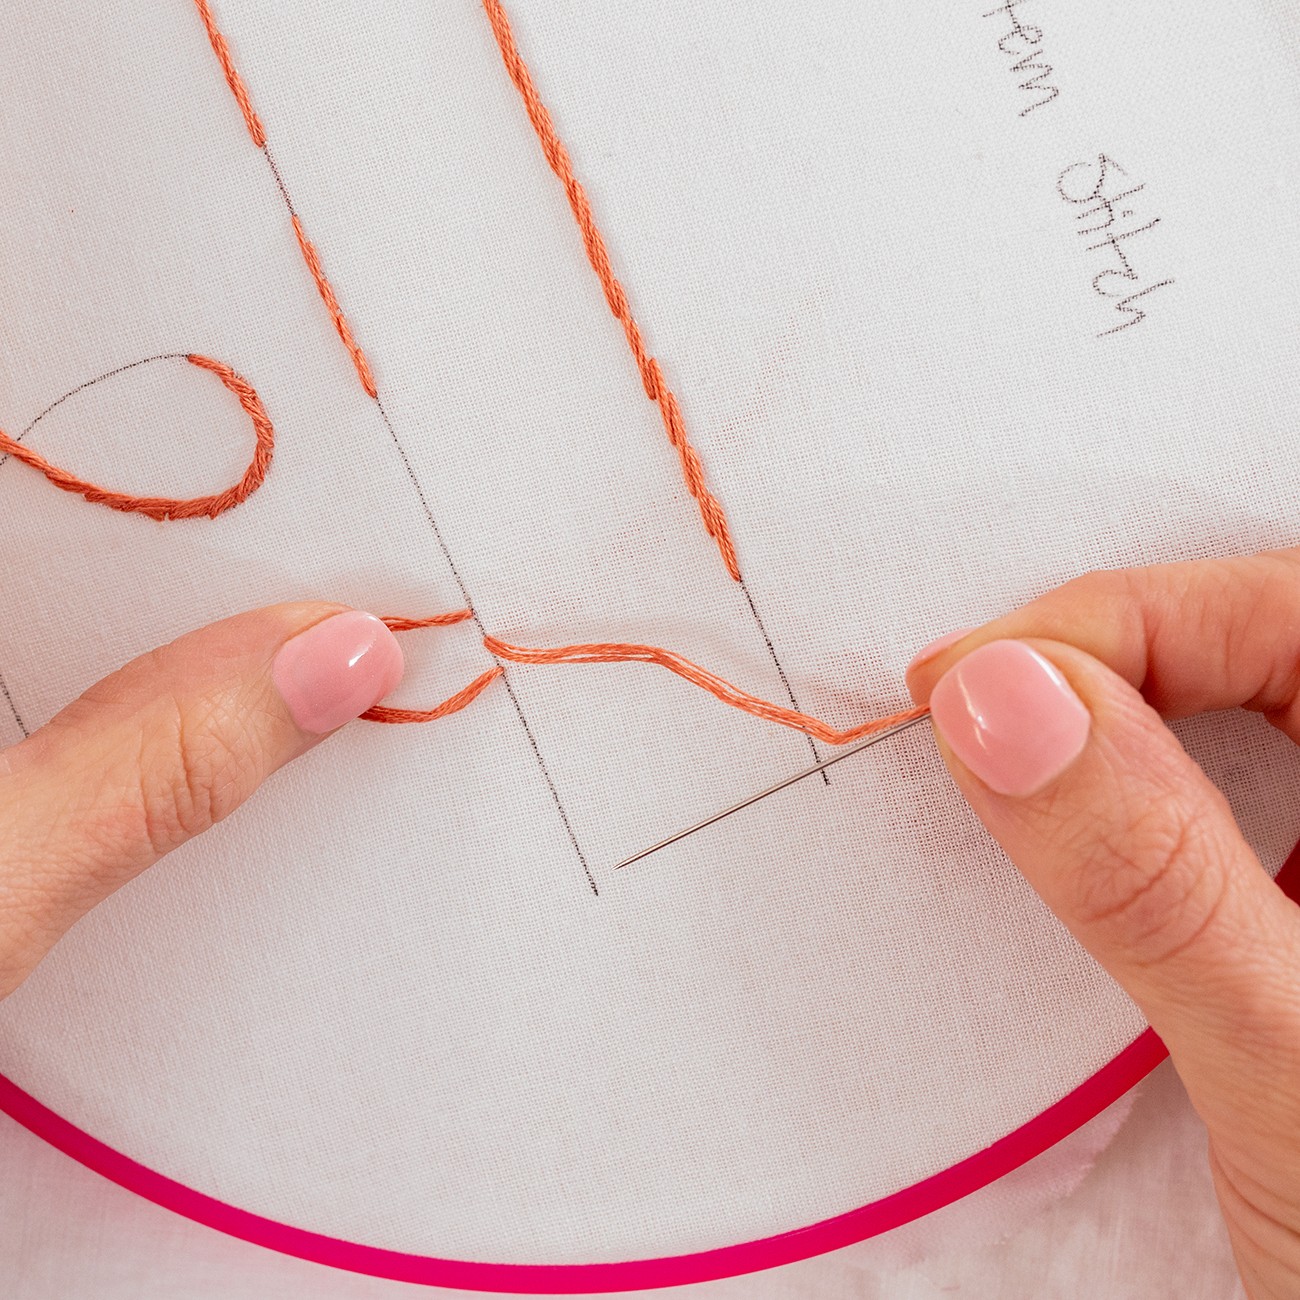
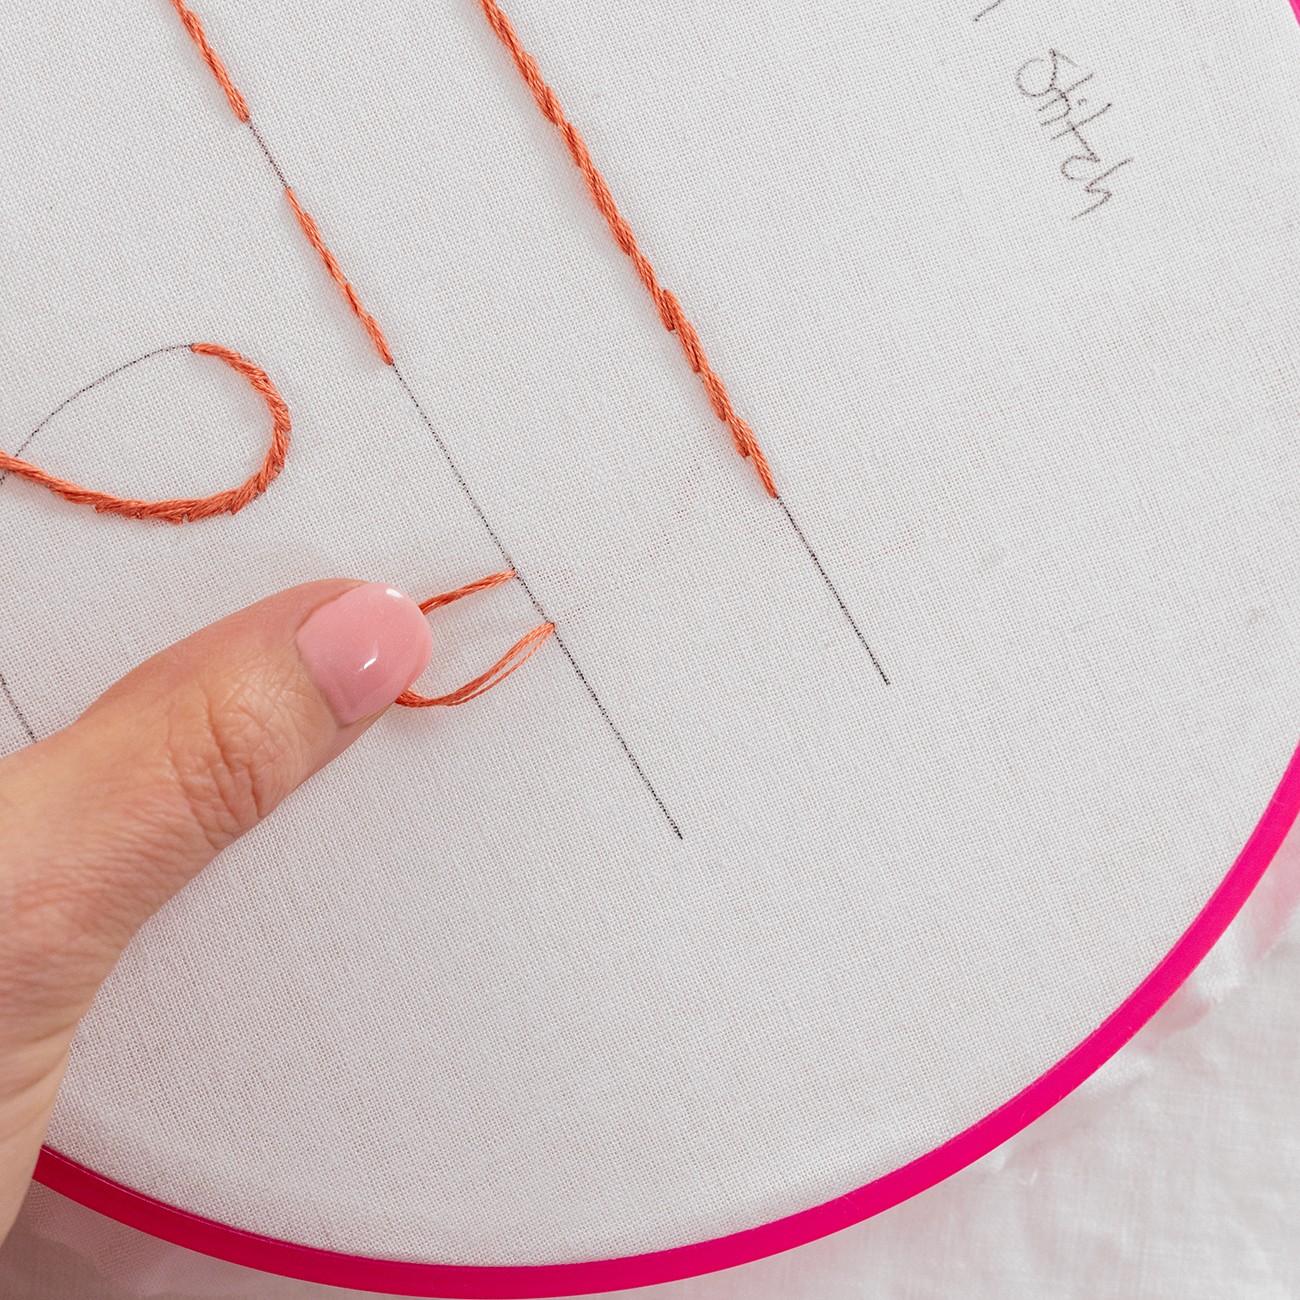
Now, before you pull your thread taut all the way through, use your thumb to hold a loop on the top side of the fabric. With your needle underneath, instead of going forward, you're actually going to turn around and come backward in the direction you just came.
Then bring your needle up about halfway from the start and end of that first stitch on the line.
Pull the needle up and actually let go of the loop now, but something important to note is that the needle is above the loop, or in other words, the working thread is below where the needle is.
Okay, so now you can pull that stitch tight!
Step 3.
Okay, so now you can do another normal stitch forward. Once again, use your thumb to hold the thread on the front. That means you're creating a loop, and this time, bring your needle up where your previous stitch ended.
Keep your needle, once again, above your working thread. Once you've pulled the needle up and through, you can let go of that loop and pull it tight.
Step 4.
And that's what you're going to keep doing to create your line or curve. The really key thing about this stitch is that you just keep consistent. So even if you're working on a line that curves around, you want to always be bringing up your needle above your working thread. It creates such a lovely even line with that ropey look.
I just keep this really consistent, and this creates a lovely line.
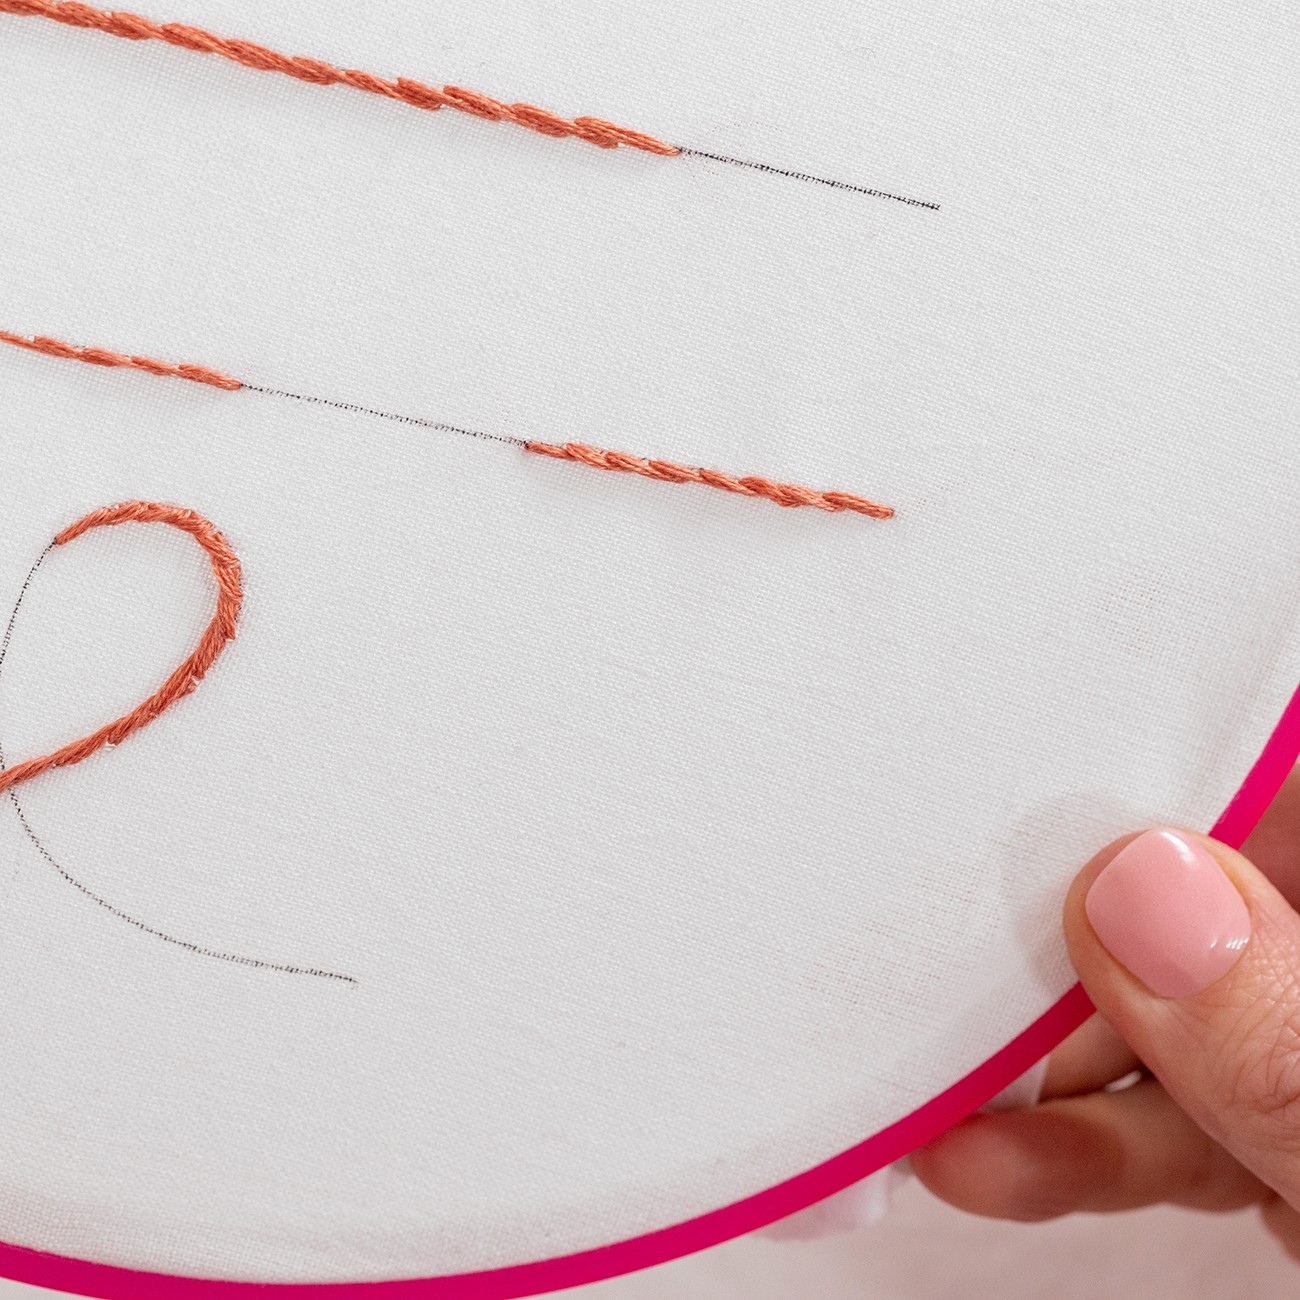
And that my friends, is how you do Stem Stitches!
Tips on Stem Stitch:
-
So with the Stem Stitch, you can stab or scoop/sew the fabric. If you scoop the fabric, you just want to do is make sure the fabric is really nice and tight when you do it so that you can get a nice result. Just do whichever one feels more comfortable for you, and this may change over time!
-
It looks best if you are always consistent with keeping the working thread below the needle. Even when you go around curves. Or, you can do it the opposite way, and position the working thread above your needle (this is called outline stitch). But either way, choose a direction and stick with it on the particular line or curve you’re working on. You can change each time you start a new line or curve.
-
It’s super easy to navigate around a curve using stem stitch. As you go around the corner on a curve, or as you get to the really curvy bit, it's easier if you do shorter stitches. This can help you navigate those tighter bends.

Examples of Stem Stitch in my patterns
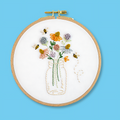
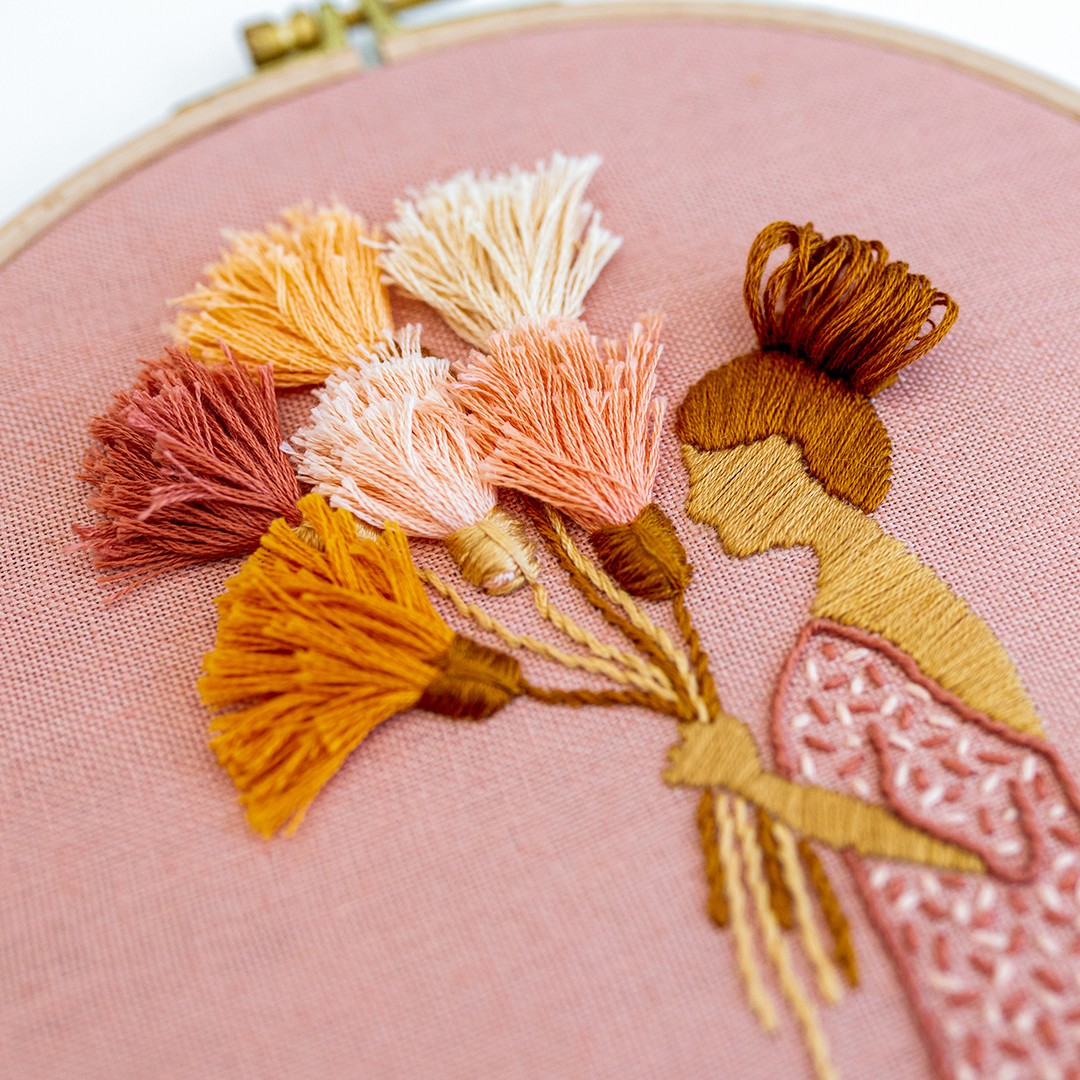
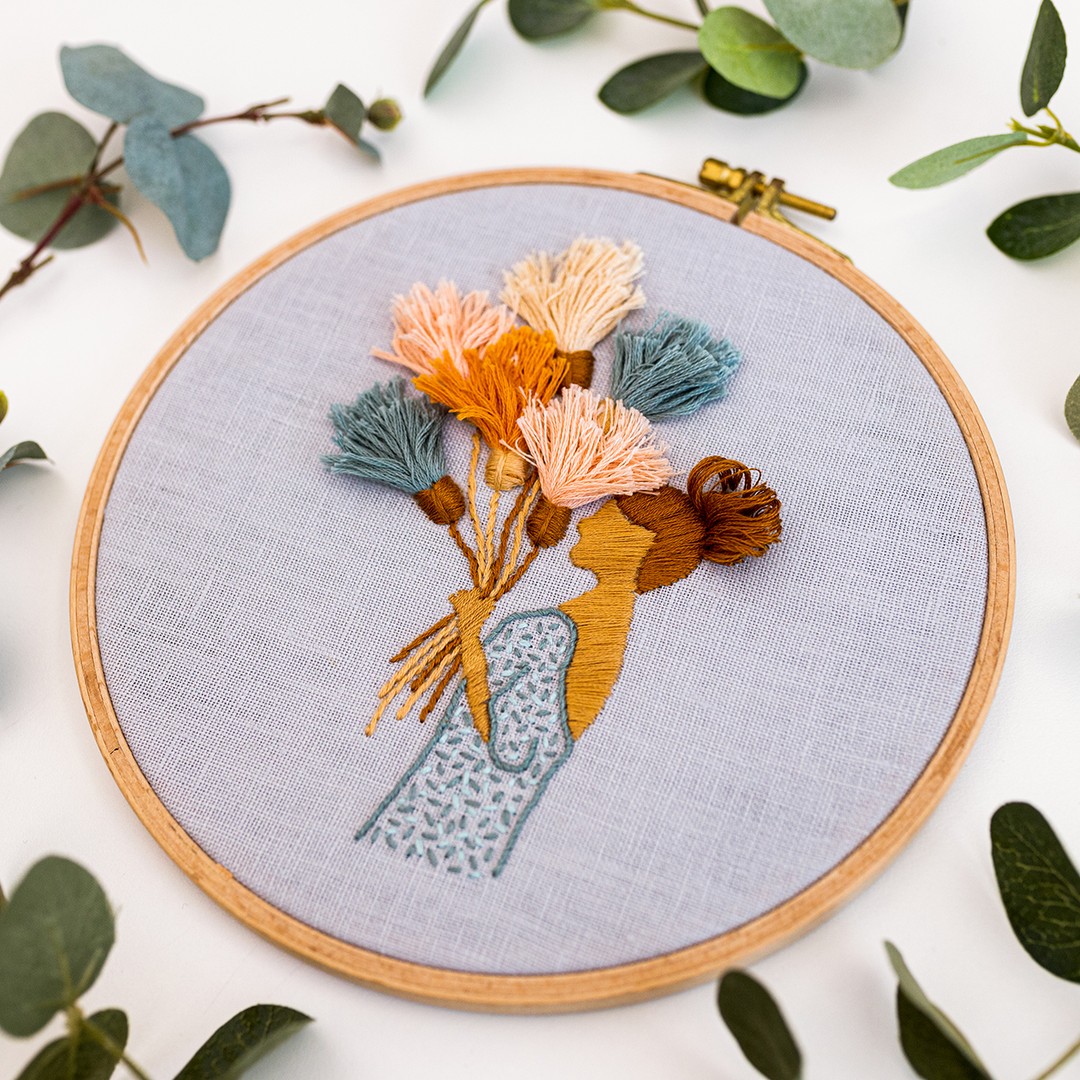
Let's look at some examples of how you can use this beautiful stitch in your work! First up, here's my pattern The Florist.
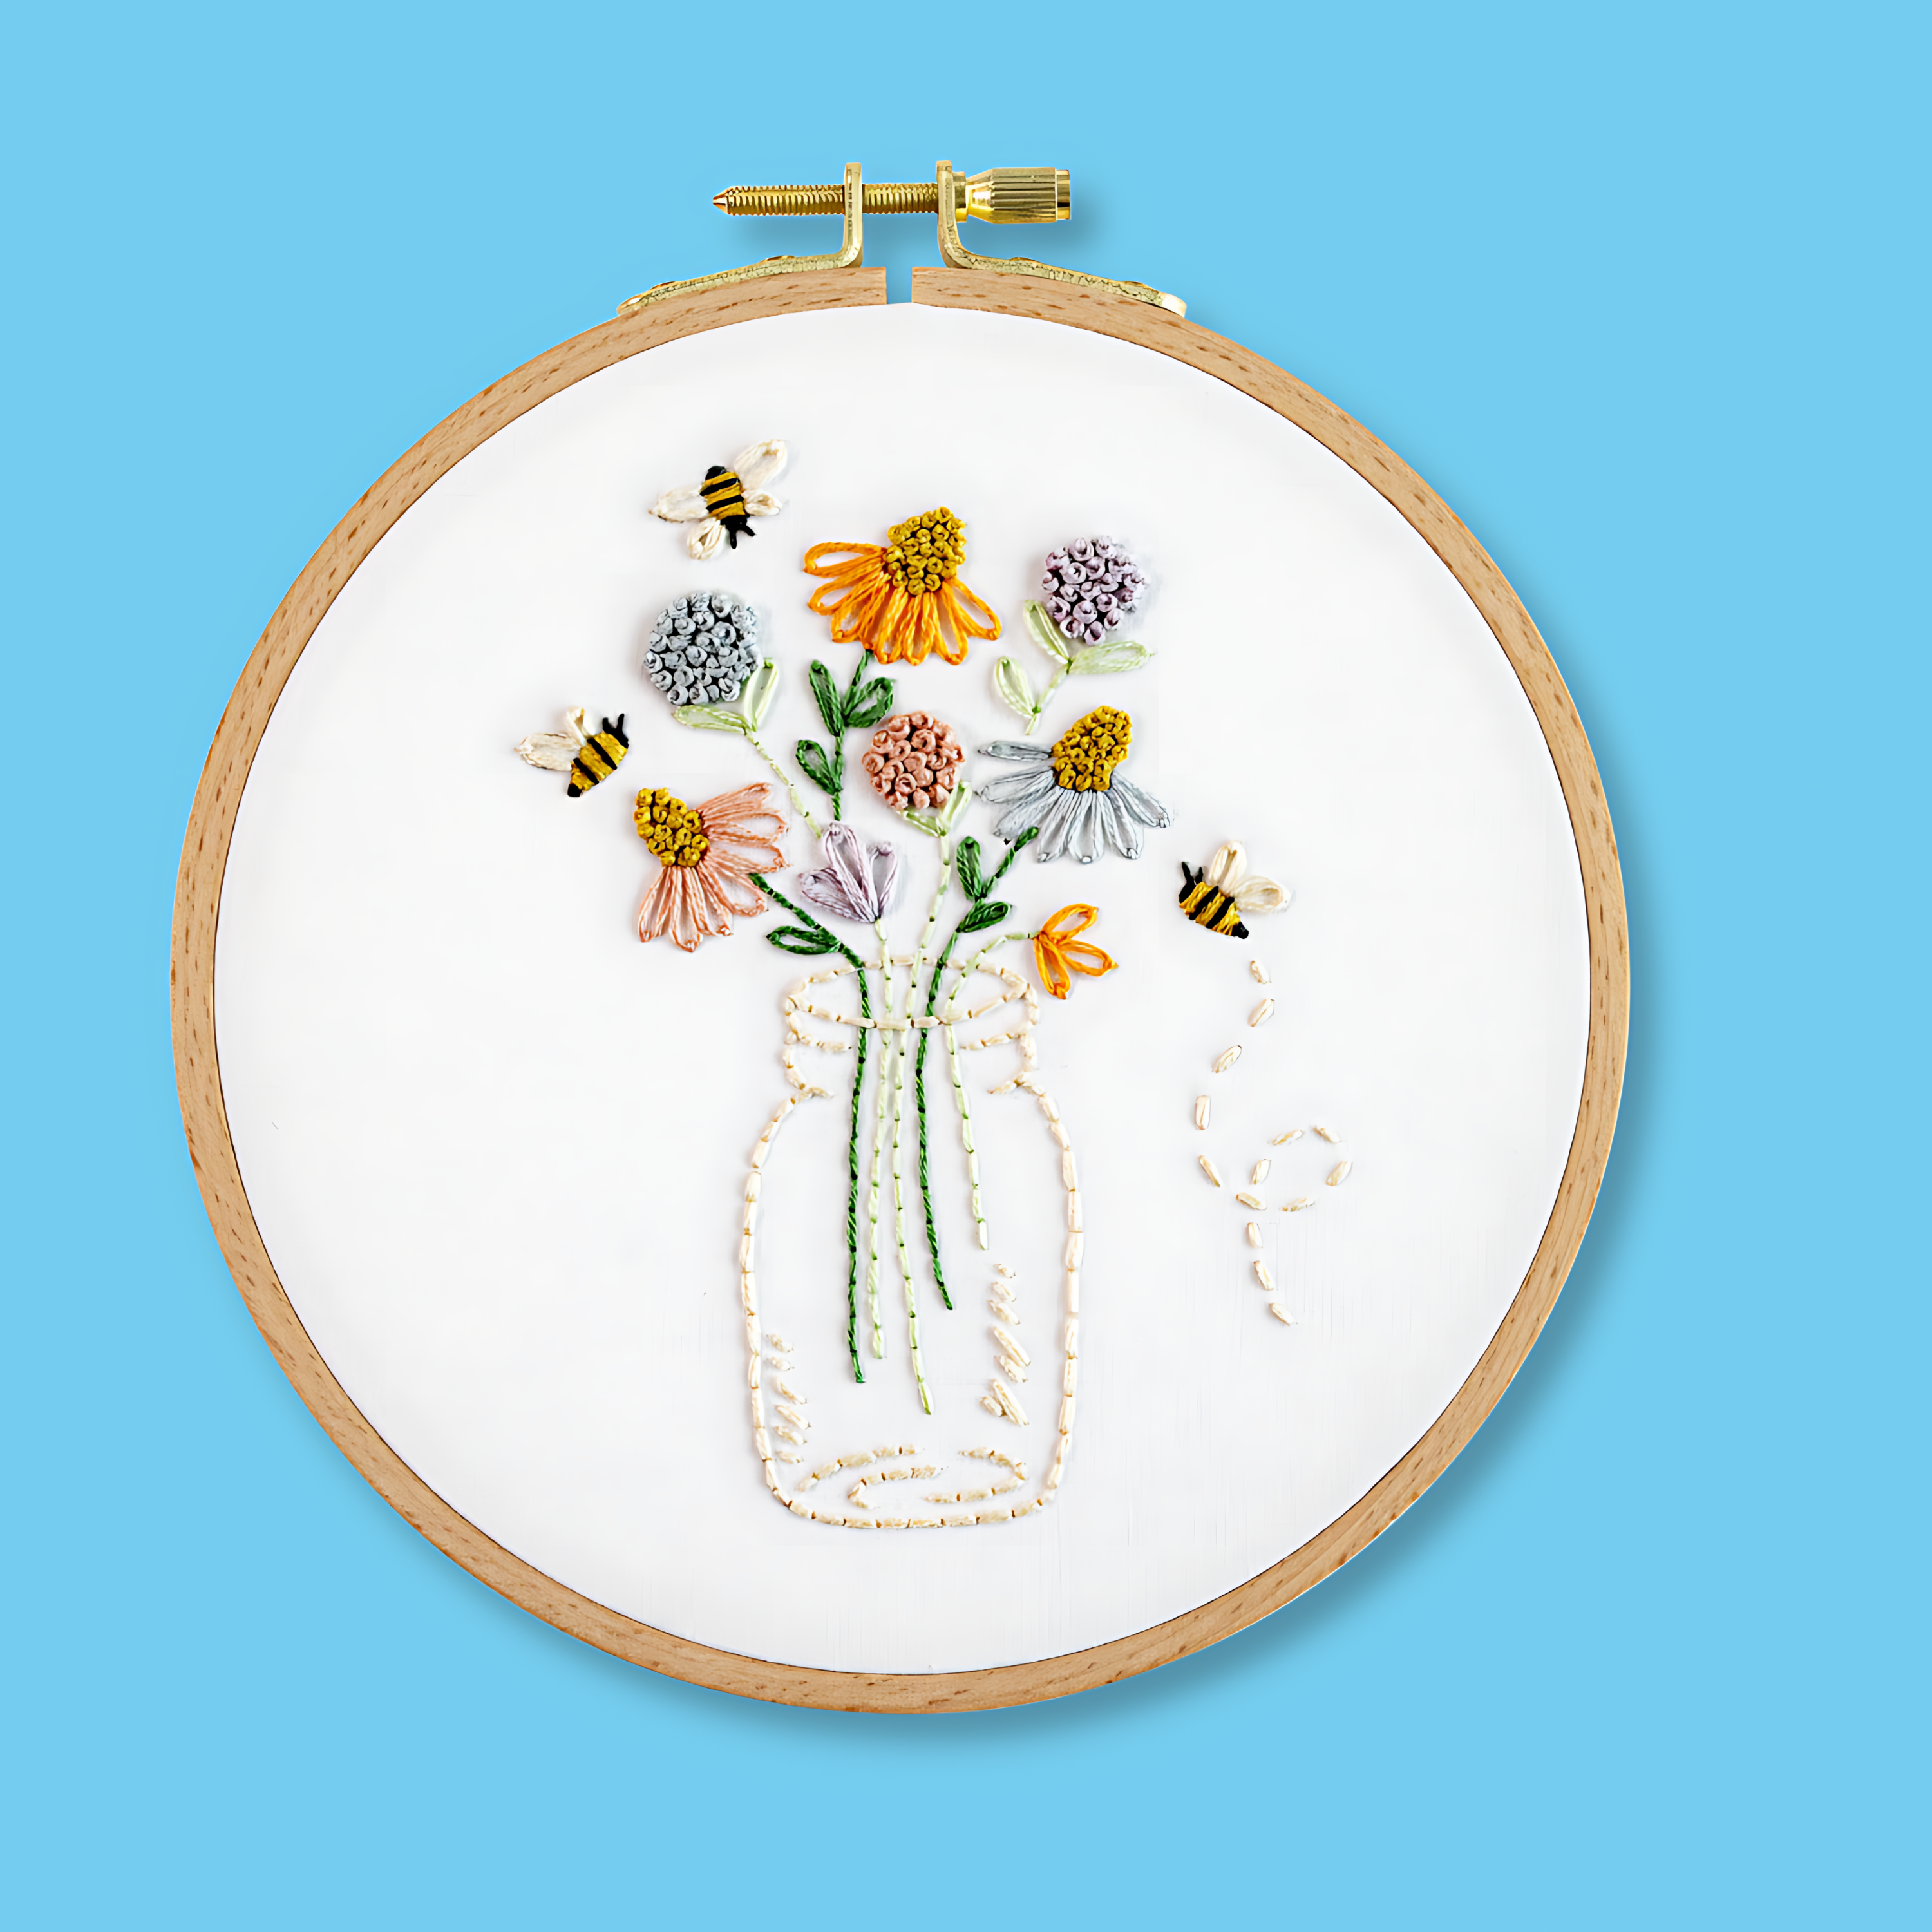
See the stalks of the flowers? These are worked with Stem Stitch.
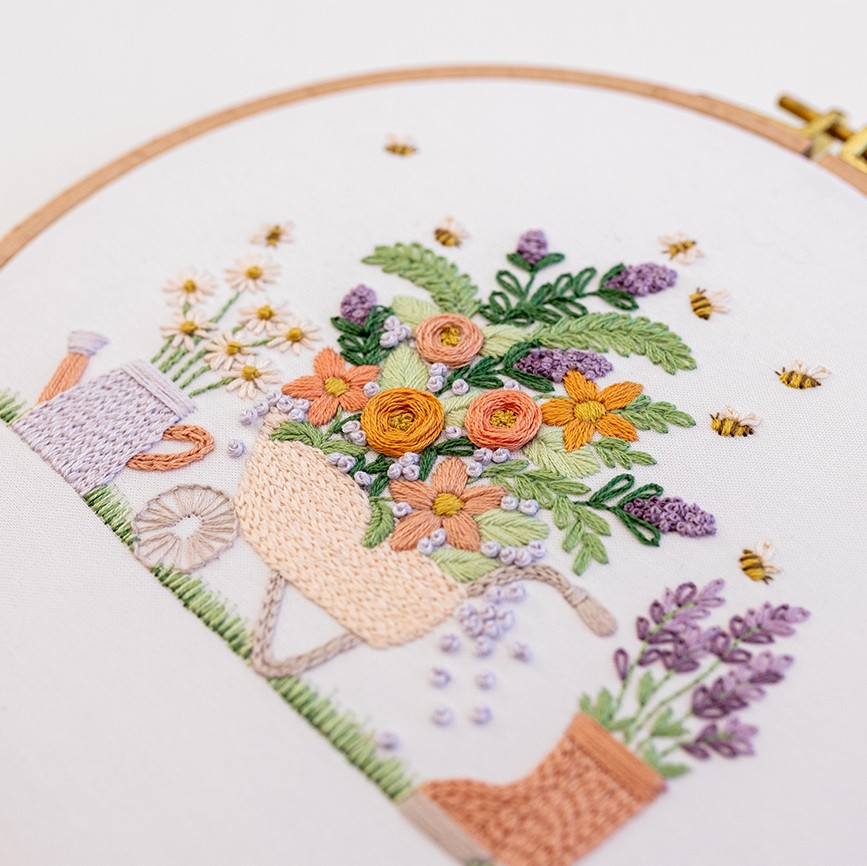
I also love this example of stem stitch which features in my pattern The Gardening Bee. See how the stems of the daisies springing out of the watering can have a lovely smooth look? That's because they are worked in Stem Stitch!
Conclusion
I hope you feel so much more confident making beautiful Stem Stitches that work well in your modern embroidery pieces. I just know you are going to really enjoy this stitch and get so good at it with practice.
What's next?
Our beginner embroidery kits are a favourite among new stitchers for their simple, step-by-step instructions and beautiful designs that make learning easy and fun. Whether you’ve been wanting to learn embroidery or are just searching for your next creative hobby. These kits are the perfect introduction to embroidery.
Why people love our beginner kits:
-
Everything you need is included: fabric, thread, hoop, and more!
-
Clear instructions to guide you every step of the way.
-
Gorgeous designs you’ll be proud to display.
Our most popular beginner kits


