An Easy Peasy Guide to a Scalloped Wall Effect
Introduction
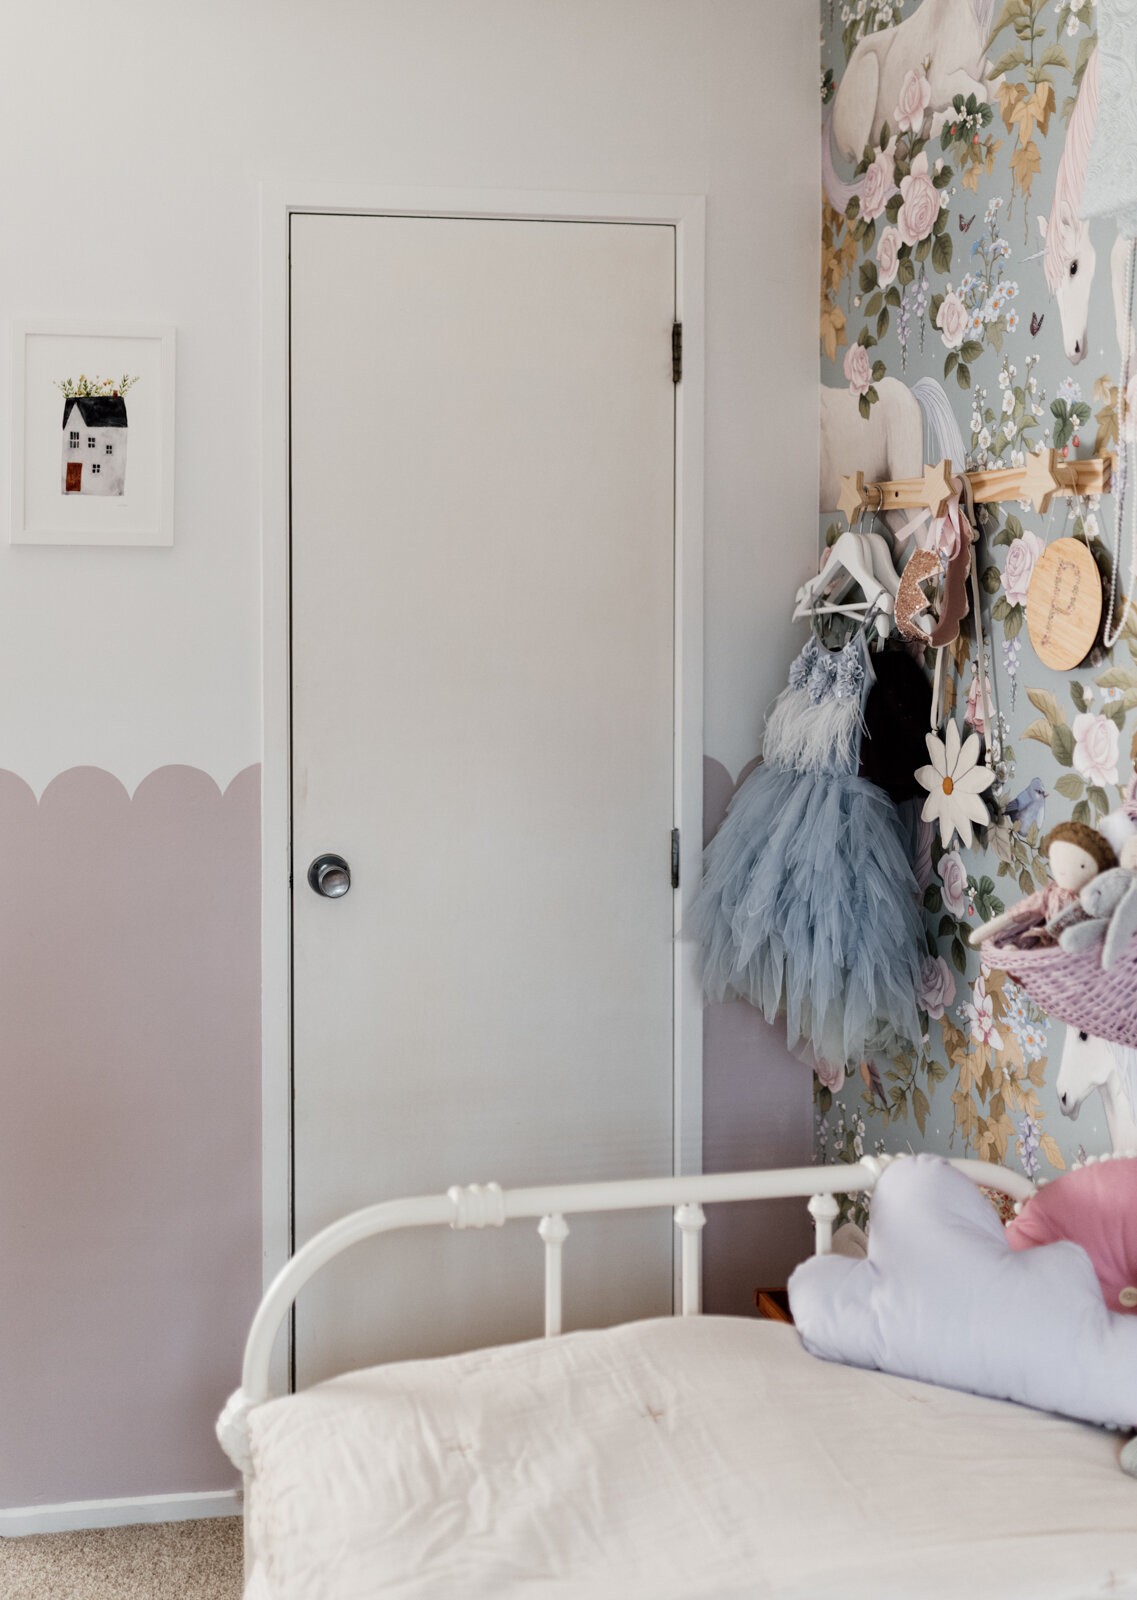
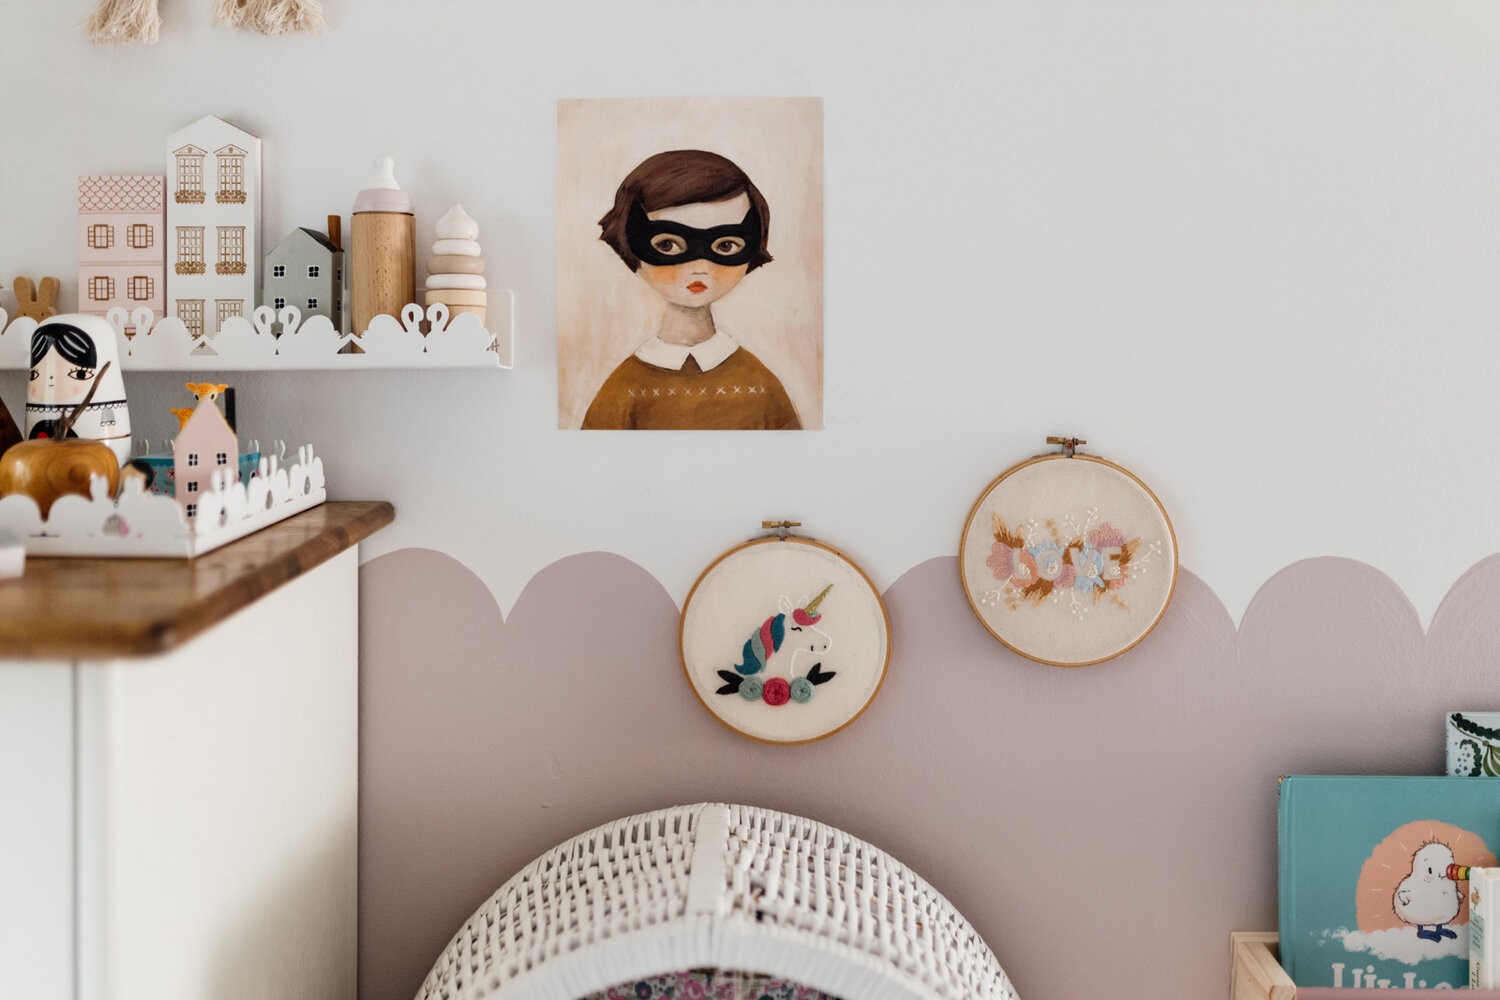
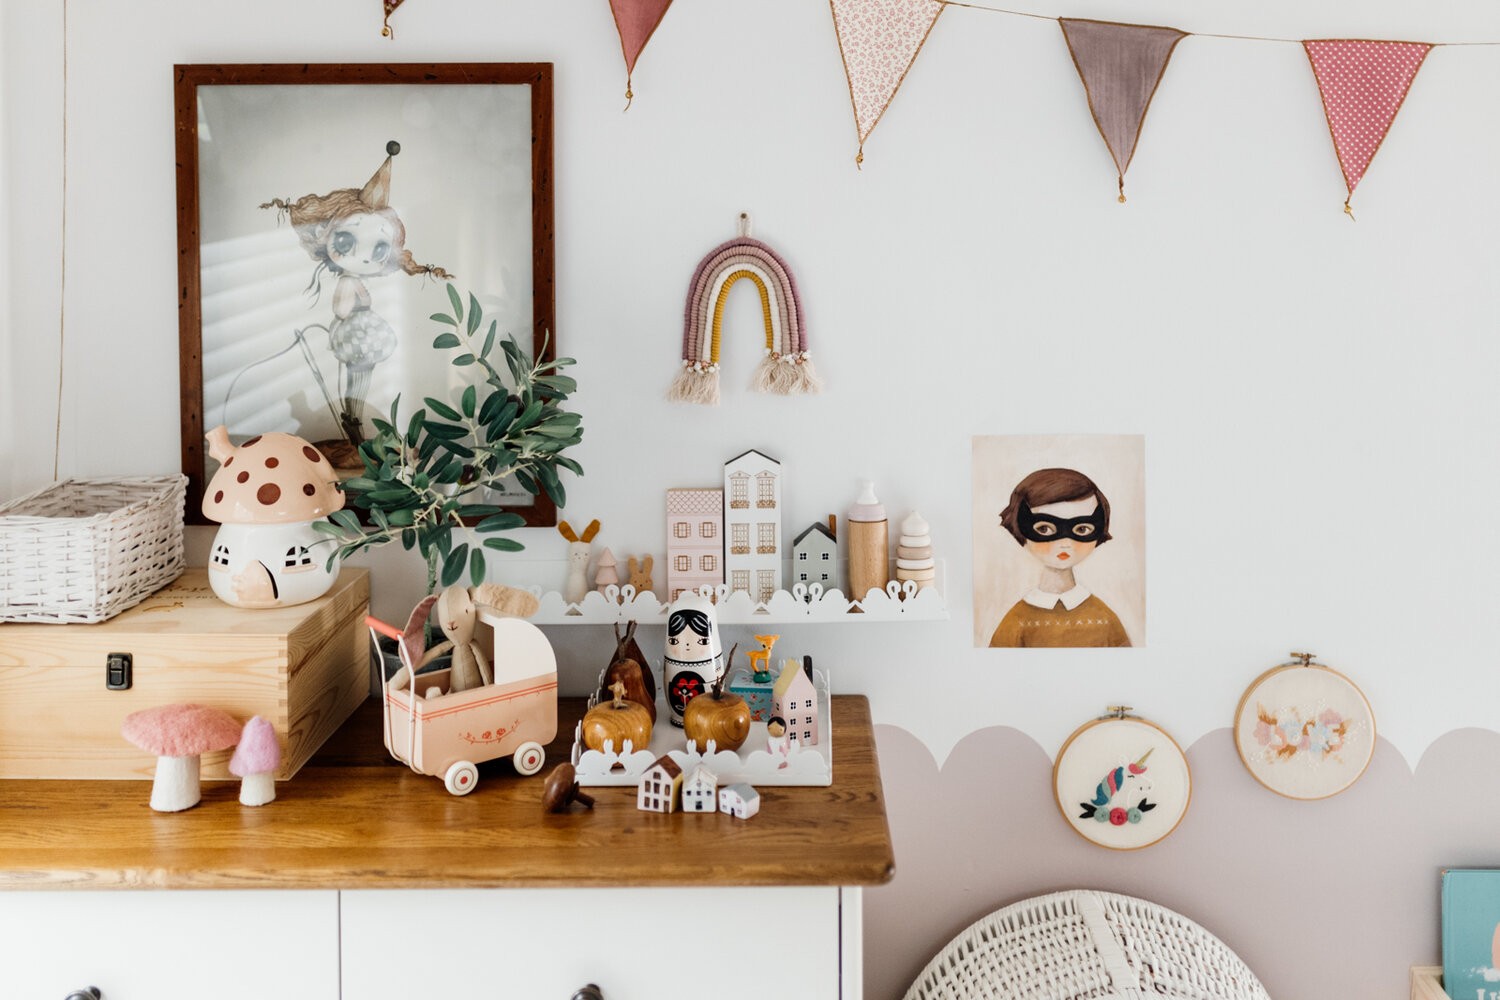
How pretty is this painted scalloped wall effect in Piper’s room? I love how it adds a soft and playful atmosphere to her room. In my opinion adding a scalloped shape is such a simple way to add a touch of charm to all manner of things, and walls proved to be no exception.
I thought some of you would have admired this from afar but assumed it’s too tricky to try in your own home…and I’m here to say it’s easy enough that anyone can do it! This scalloped wall effect was a lot easier than I even expected it to be. It also doesn’t require any extra equipment or painting skills. I do have quite a steady hand - but this isn’t essential!
As a bit of background, I’m a Dulux Colour Creative. This means we work together and I share how much I love their paints with my audience throughout the year.
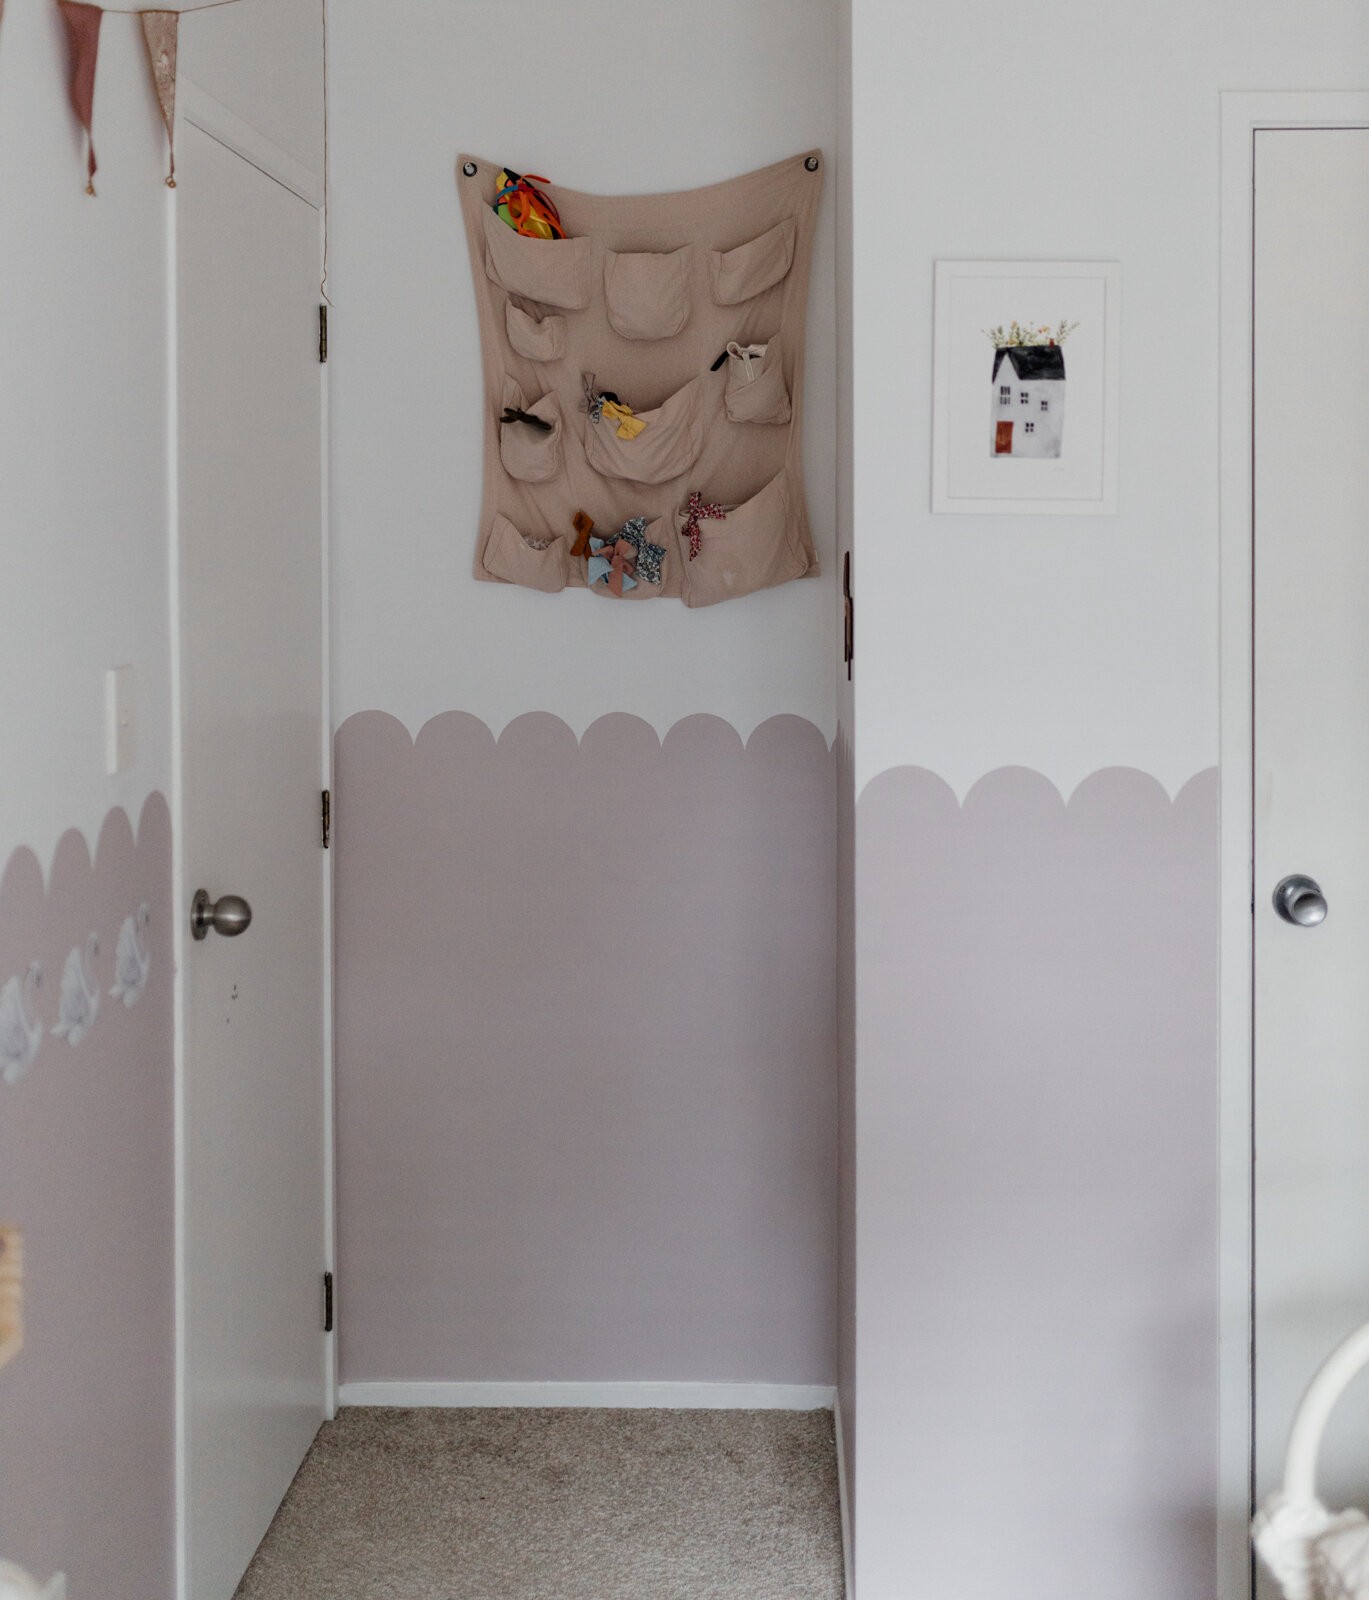
Piper loves her room after this makeover and the good news is that I didn’t have to spend the big bucks to achieve this look (because let’s be honest, furnishing a new room is expensive enough!)
I didn’t capture photos as I painted this wall, but these instructions (and accompanying pictures) should be very simple to follow.
So let’s get started!
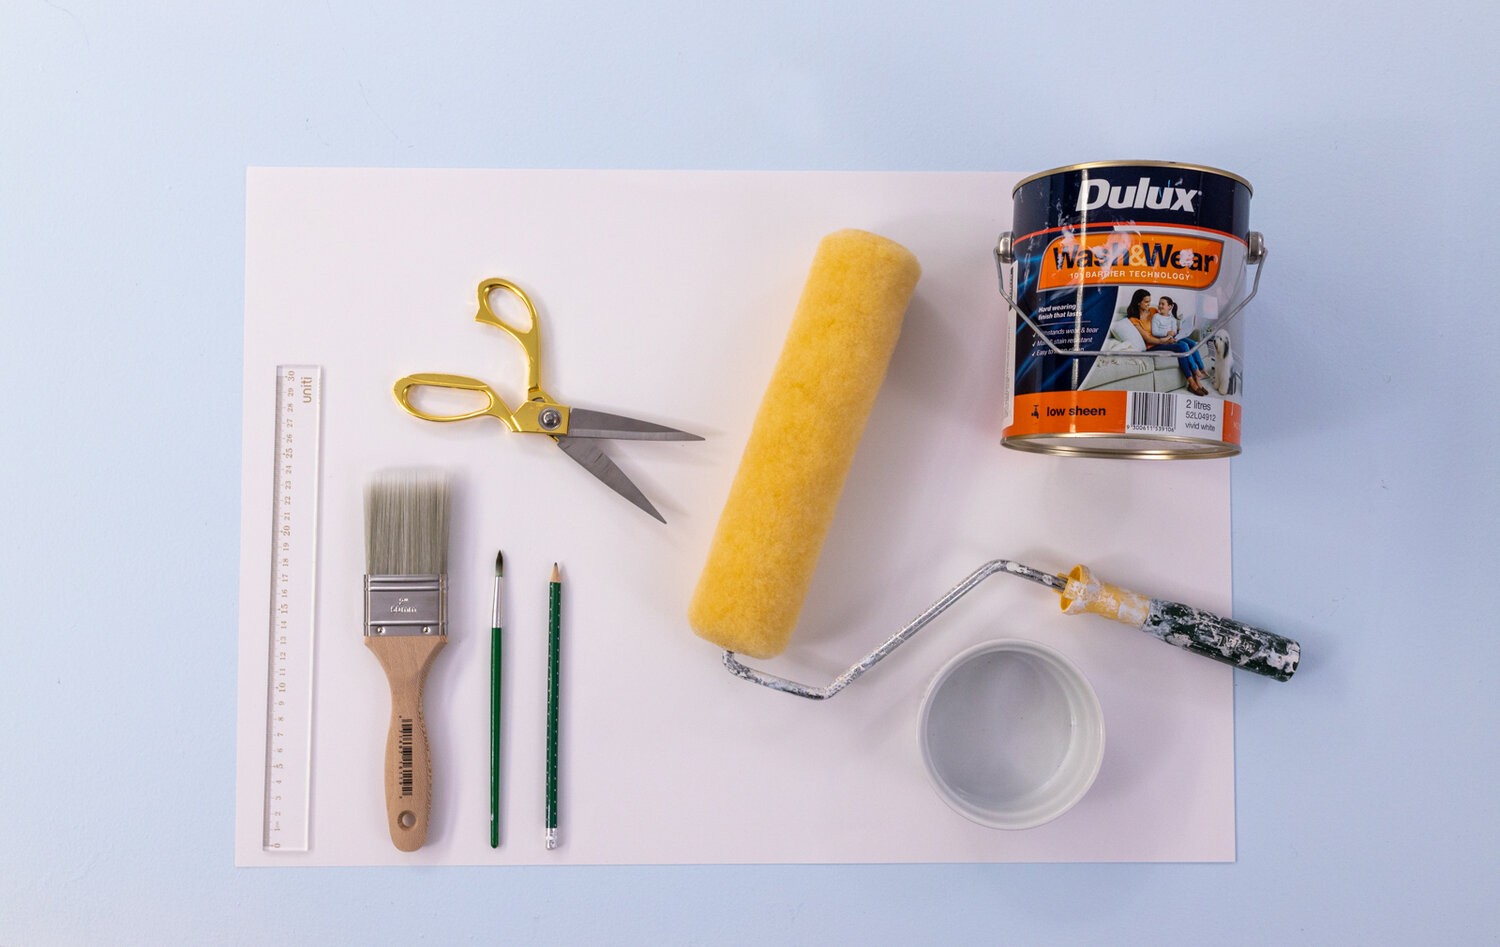
You will need:
-
Dulux paint, I used Hint of Lavender for the scalloped effect and Okarito Double was the base wall colour, both in the Wash&Wear Range
-
A leveller or measuring tape
-
A round dish
-
A piece of Cardboard
-
A pencil
-
Scissors
-
A small artist paintbrush
-
A larger paintbrush
-
A paint roller
Let’s assume I’m doing this directly on the wall rather than a piece of cardboard.
Step 1
You will need:
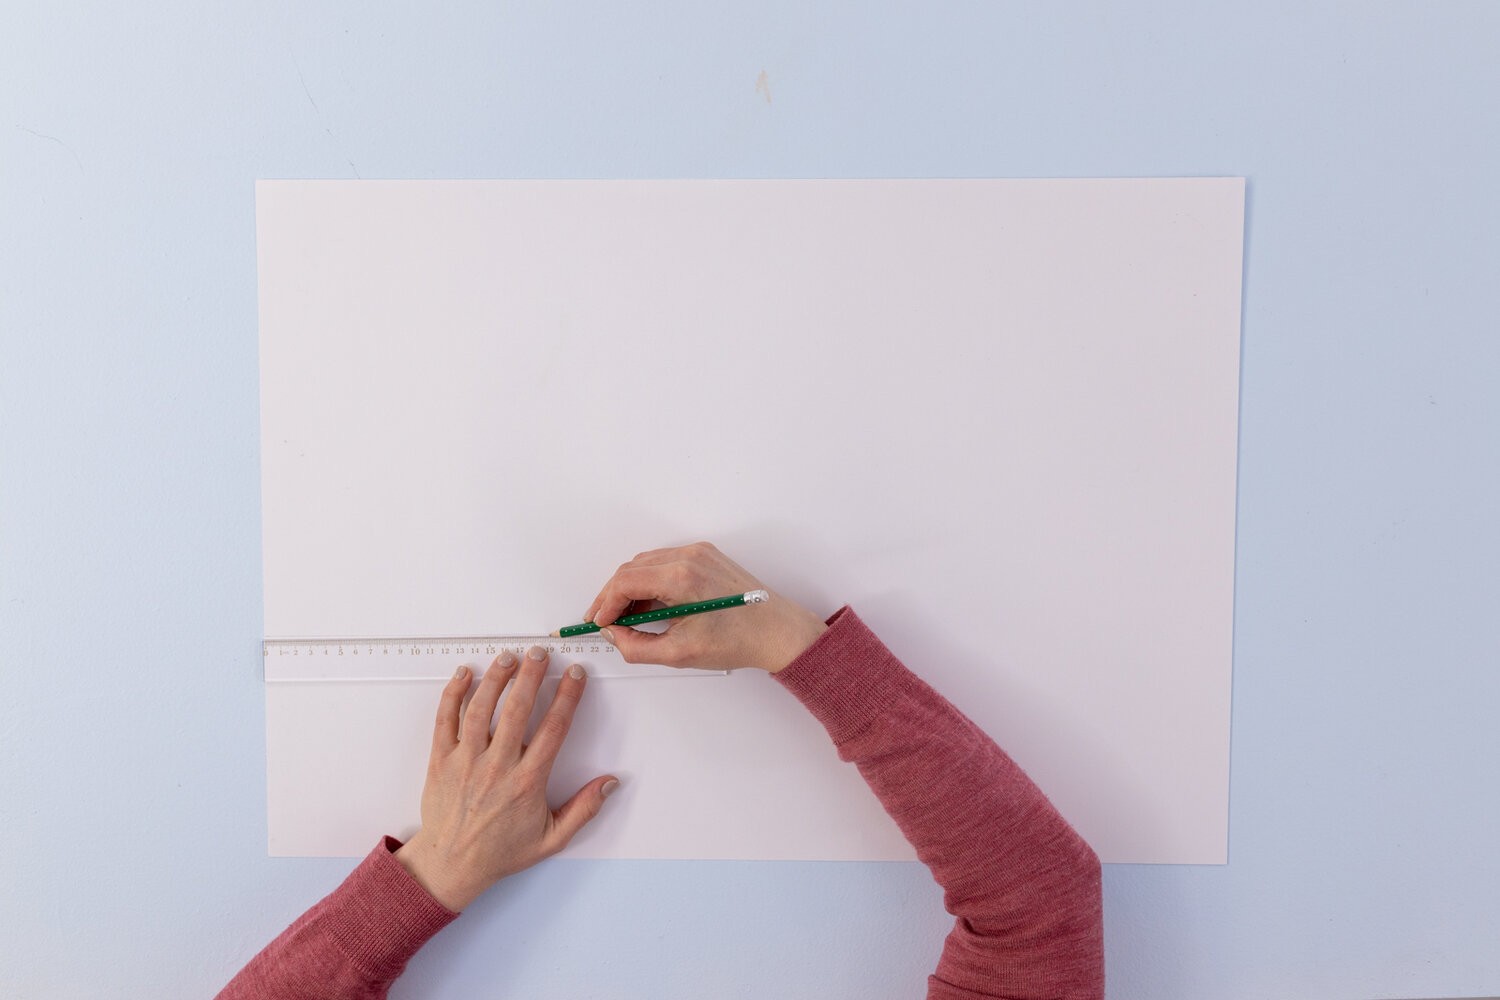
Paint the base colour on the wall and let that fully dry. Measure a line where you want your scallops to sit on the wall (I did mine about 1/3 the way up the wall). You can use a leveller or measuring tape for this.
Step 2
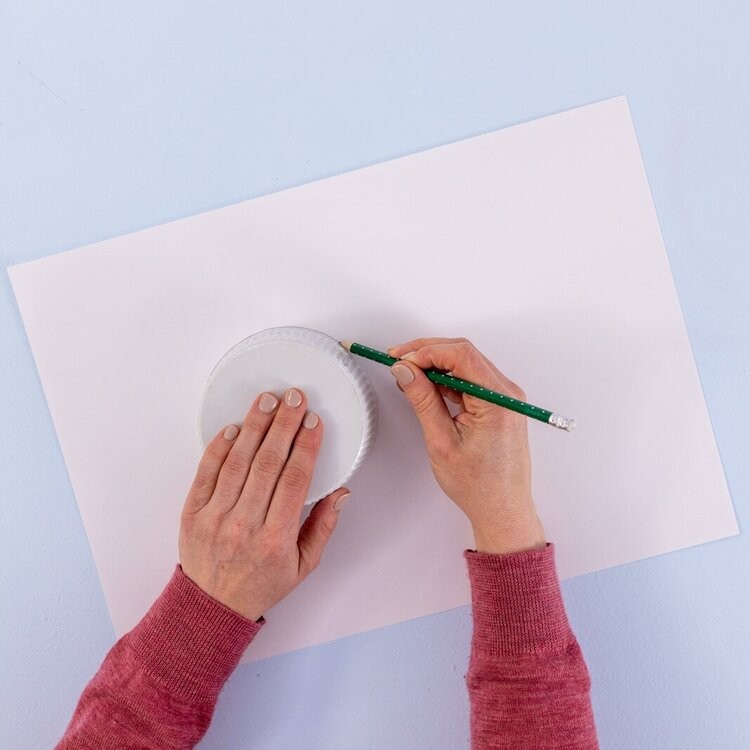
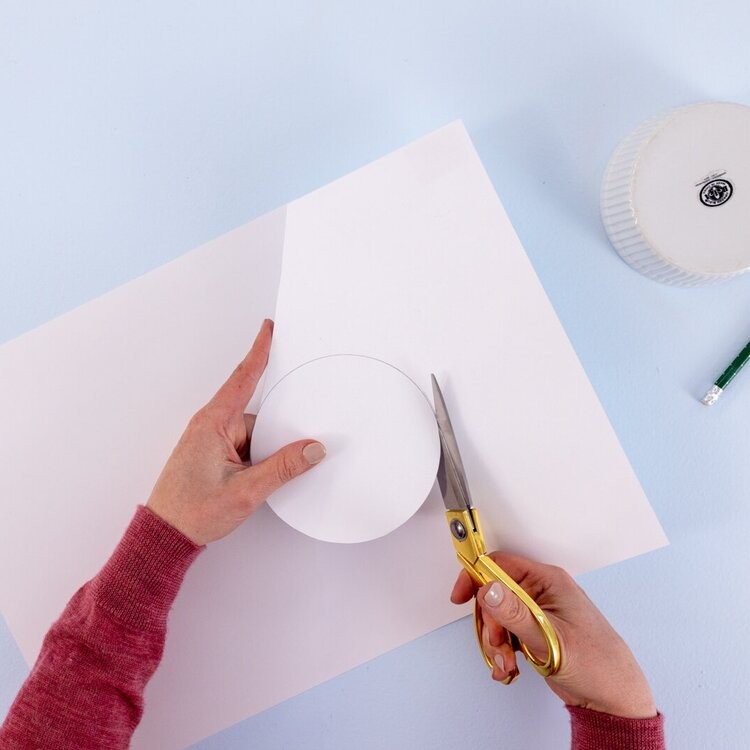
Place the round dish on your piece of cardboard (I used a large creme brûlée ramekin around 12cm wide, but you can use any size, depending on how large you want your scallops to be). Measure around this dish with a pen and then cut the shape out.
Step 3
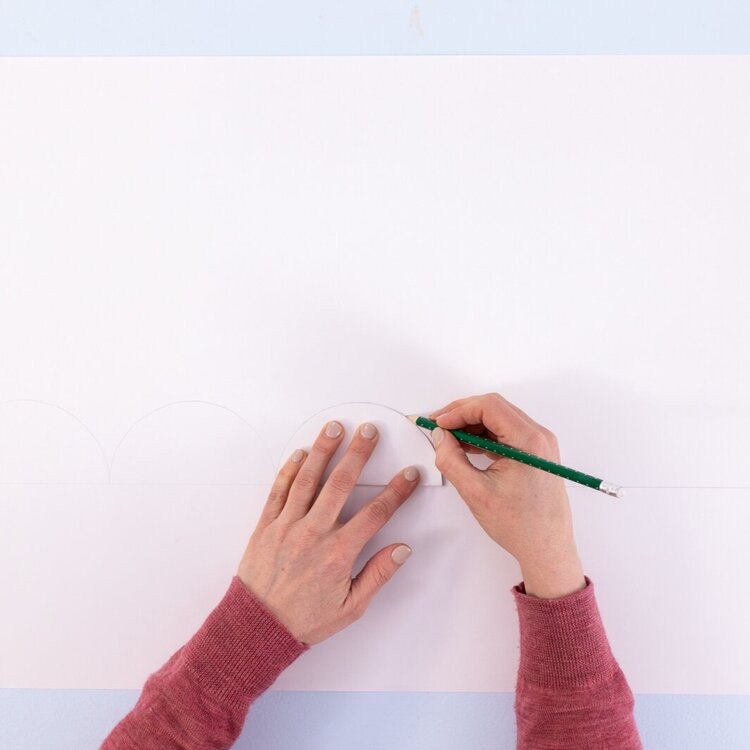
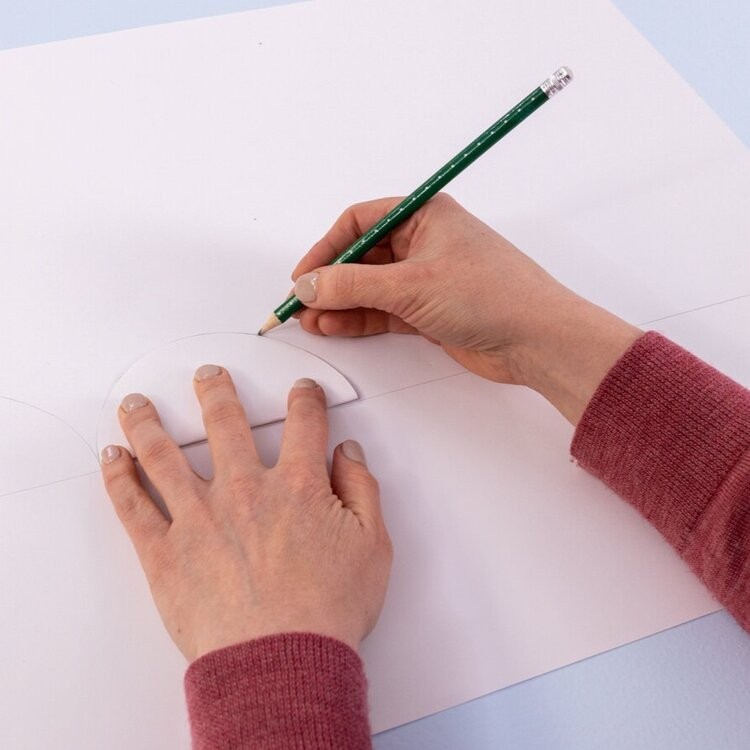
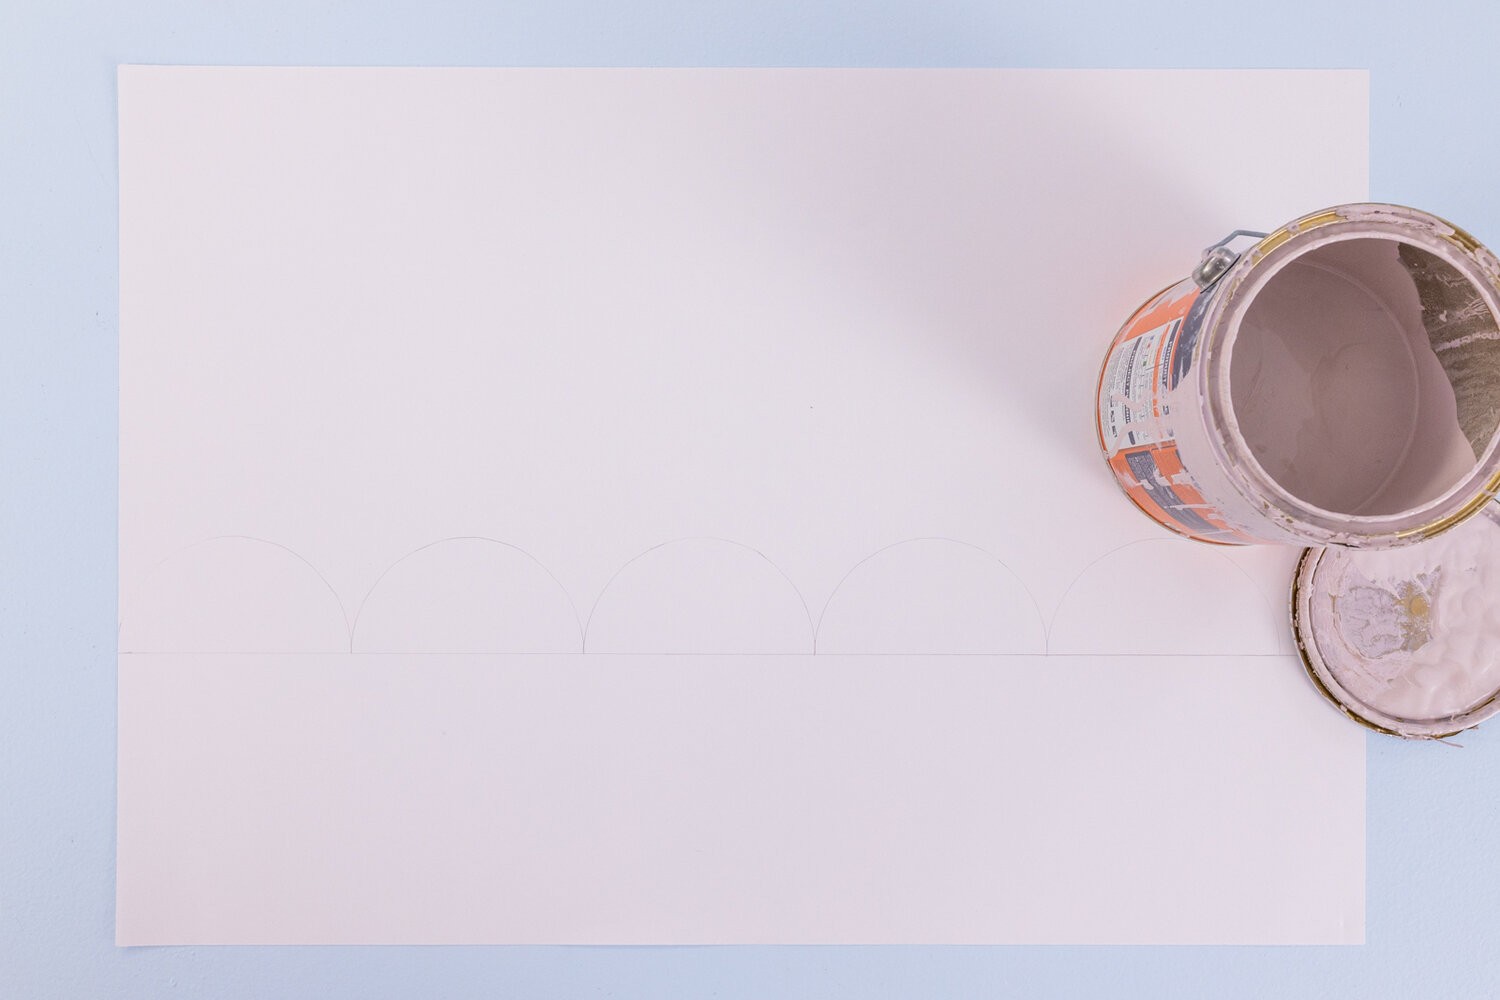
Now you have the base for your scallop shape, it’s time to transfer it to the wall. Fold your circle shape in half. Then place this semi-circle on top of the drawn line and pencil this shape lightly. Then repeat this step along the length of the wall, so that each scallop sits nicely beside the one before. Don’t worry if this isn’t perfect, some of mine were slightly out of line but they looked fine!
TIP: Don’t worry if the scallop shapes don’t fit perfectly once you come to the corner of the wall. If there is enough space for half a scallop, then you could paint that, otherwise, you could press the cardboard into the corner of the wall and draw a shape over the corners of both walls.
Step 4
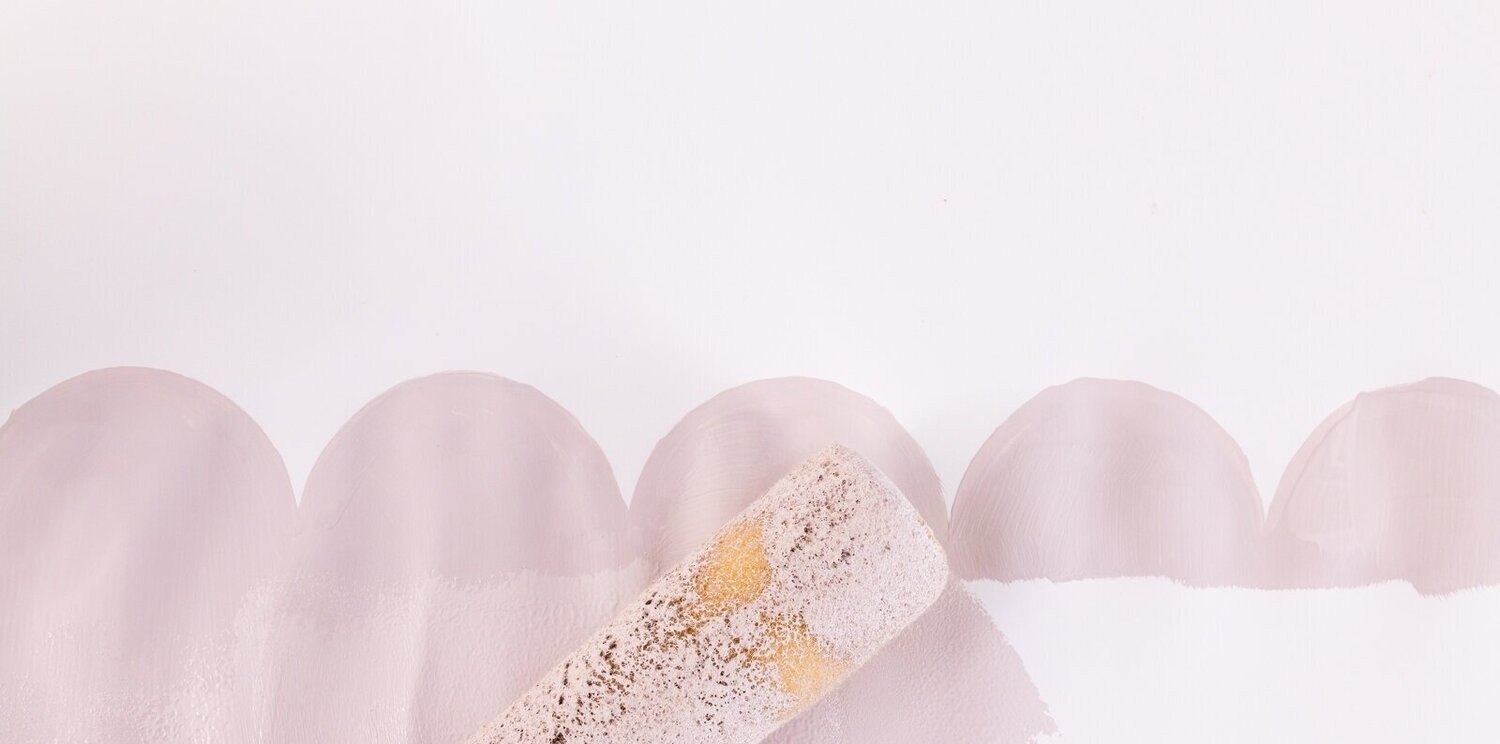
I painted the scalloped effect on the wall in sections, with these 3 steps:
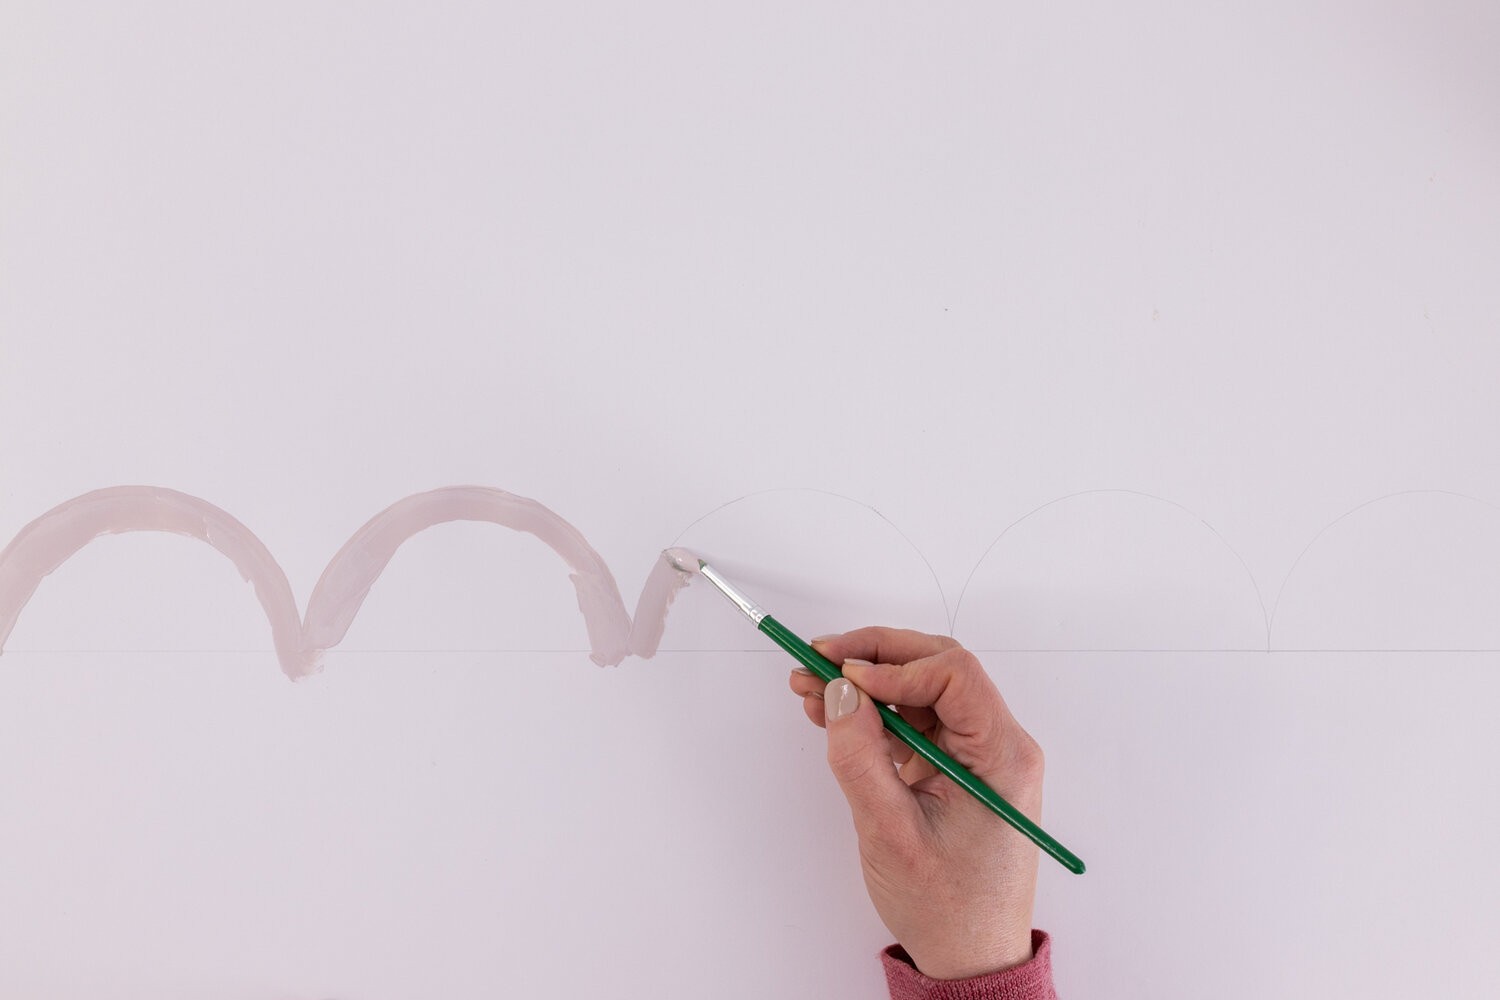
A: Using the small paintbrush, paint along the inside edge of the scalloped lines you have just drawn. Make sure your hand is steady, but this does not have to be perfect.
B: While that’s wet, I used a larger brush to fill in the actual scallop shape and down the wall slightly.
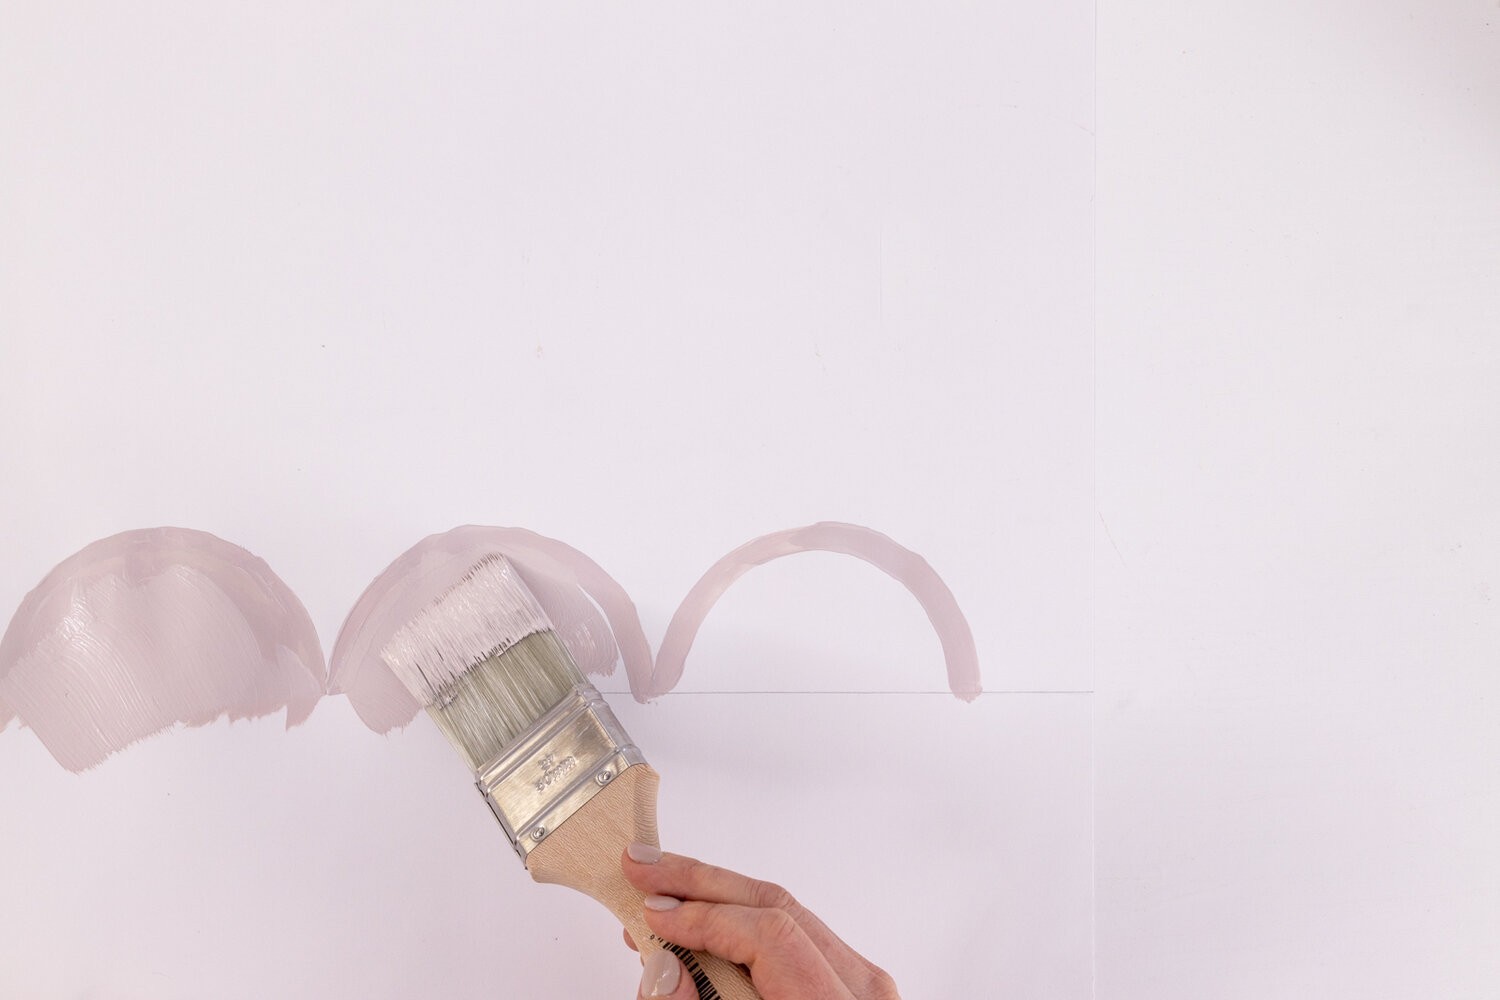
C: Before it’s dried, grab the roller and paint the large space under the scallops. I tried to get the roller up into the scallops a bit (on an angle) to get some smooth paint inside the scallops too.
The key is to try get all 3 parts in while the paint is still wet, so you get a nice result overall. You might be able to whip around your room in one go, but I did pipers room in about 3 sections.
Repeat to fill in the entire room. I did a second coat too.
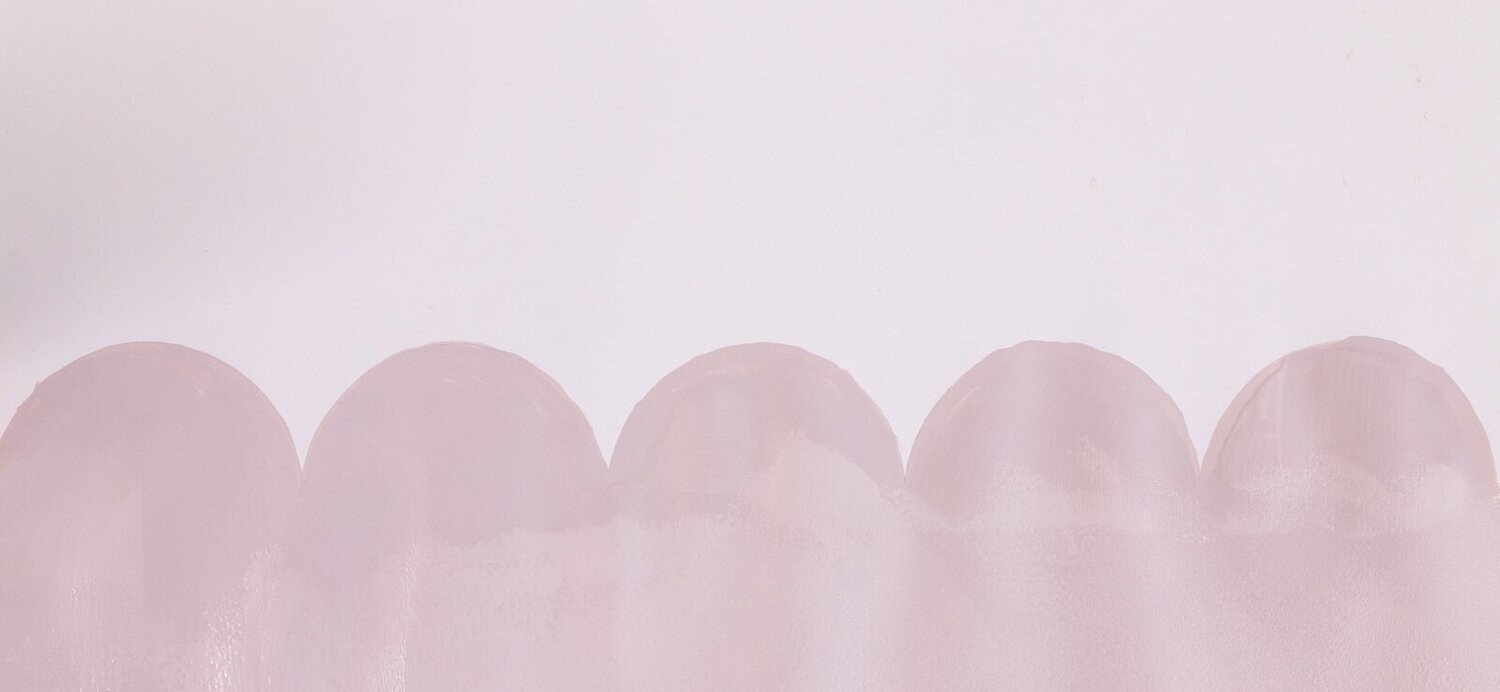
Ta-da! Can you believe it's that easy to create a magical scallop effect for your little pumpkins rooms? I still can't!
Note: I have painted on cardboard to show you these steps, but I would normally be more precise when using the roller on the wall.
Conclusion
I hope this tutorial has made you feel inspired and confident to try your own paint effect at home! Be sure to tag me in any creations, because I would love to see your little ones enjoying their new made-over bedroom!
If you are interested in learning how to do modern embroidery for beginners, check out my blog, 'Learn Modern Embroidery for Beginners with this FREE Pattern.'
Happy painting everyone!
Julie xx
